

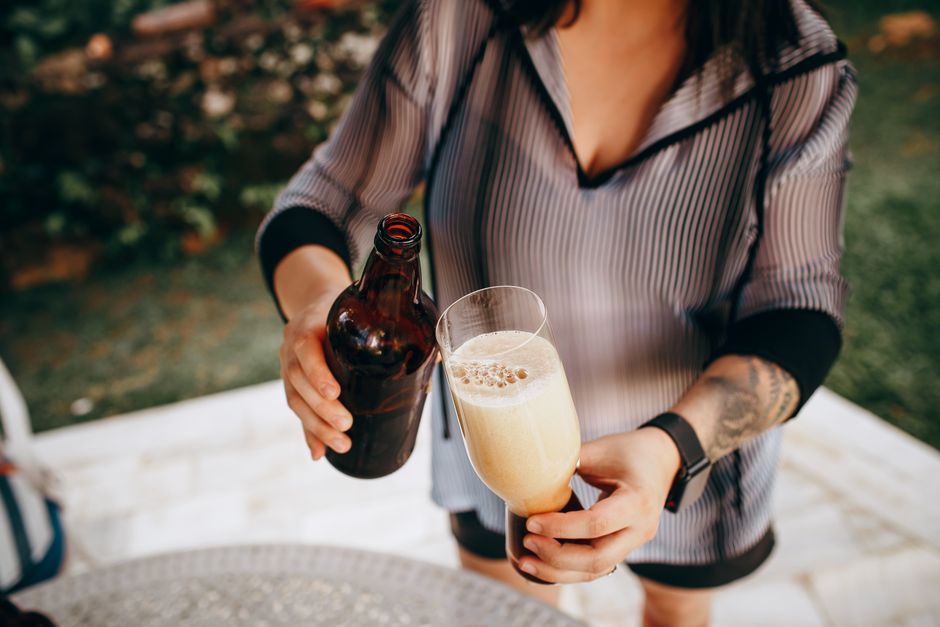
Homebrewing sounds like a bigger project than it really is. With Mr. Beer, the jump from store-bought six-pack to beer you made yourself comes down to a few simple tools, a small pot, and a little patience. The Mr. Beer system uses 2-gallon batches and pre-measured ingredients, which keeps the hobby approachable without limiting how far you can take it.
Before getting into the brewing itself, one piece of language matters. In the Mr. Beer world, a recipe is the ingredient pack: the cans of hopped malt extract, liquid malt extract, booster, hops, yeast, and grains that become your beer. A kit is the equipment system you brew in, like the complete 2-gallon kits in the Mr. Beer store. Keeping those two straight makes the rest of this article much easier.
Every batch, simple or advanced, follows the same six steps: assemble, sanitize, brew, bottle, carbonate, and clean. A basic brew day takes about 30 minutes of active time. The rest is the yeast doing its job, which means your main responsibilities are a clean fermenter, a steady room temperature, and enough patience to let fermentation finish.
Know Your Ingredients: What a Mr. Beer Recipe Puts in Your Hands
The heart of most Mr. Beer recipes is the HME can. HME stands for hopped malt extract, and that little can is the reason the simplest batches are so forgiving. The HME can contains malt extract and hops; the recipe also includes the yeast packet you’ll pitch after the wort cools. The malt has already been made into extract, and the hops are already added. You are not starting from raw grain, guessing at hop quantities, or babysitting a complicated mash.
Depending on the style, a recipe pack may also include liquid malt extract, brewing booster, specialty grains, extra hops, and the yeast packet you will pitch after the wort cools. For a basic brew you also need about 2 gallons of cold water and a pot that holds at least 4 quarts. Nothing about this setup should intimidate anyone who has ever cooked pasta.
Level One: The Simplest Single-Can Mr. Beer Batch
Start with one HME can and its yeast. This is the purest possible Mr. Beer experience: no grains to steep, no hop additions to time, no complicated temperature steps. You learn the rhythm of the process before you start adding variables. If you want options right away, the recipes collection has plenty of single-can starting points.
Bring water to a boil in your pot, add the HME, and stir until it is thoroughly mixed. Dissolving the extract completely matters more than people expect. If undissolved syrup settles at the bottom of the fermenter, the beer can end up with uneven flavor and a lower starting gravity than the recipe intended. Hot water makes that dissolve much easier.
Once the extract is fully mixed, pour it into your fermenter and add cold water to reach your batch volume. This is also the moment when everything that touches the beer should already be sanitized. The yeast packet comes next, but only after the liquid has cooled enough that the yeast will not be shocked.
Then the waiting begins. A typical Mr. Beer fermentation runs about 14 days. The yeast eats the sugars in the extract, produces alcohol, and creates the flavor compounds that turn a sweet sticky liquid into recognizable beer. Keep the fermenter somewhere with a steady temperature and out of direct sunlight, and let the yeast finish before you get impatient.
Level Two: A Can Plus Booster or Liquid Malt Extract
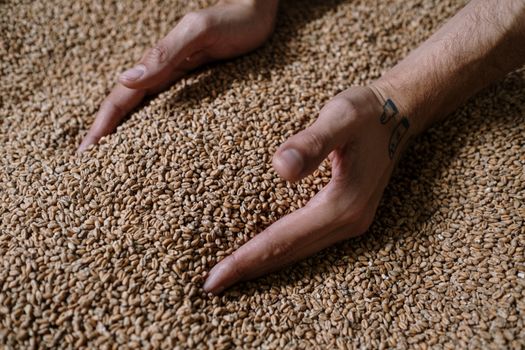
Once you’re comfortable brewing a simple single-can batch, the next step is learning how small additions can change the beer. This is where ingredients like BrewMax Booster or liquid malt extract, often called LME, come in.
BrewMax Booster is used to raise the alcohol content and help create a lighter-bodied beer without adding extra malt flavor. Liquid malt extract adds fermentable sugars too, but it also brings more malt character, body, color, and mouthfeel to the finished beer.
This level is still very beginner-friendly because the HME can is doing most of the heavy lifting. The malt extract and hops are already prepared in the can, so you are not building a recipe from scratch. You are simply adding an extra ingredient to change the strength, body, or flavor balance of the beer.
This is the basic idea behind many Mr. Beer standard and deluxe refills. A standard refill may use Booster to increase ABV while keeping the beer crisp and easy-drinking. A deluxe refill uses LME instead, which can make the beer feel fuller, smoother, and more malt-forward.
For many brewers, Level Two is the sweet spot: simple enough for an easy brew day, but flexible enough to make the finished beer feel more complete.
Best for: Brewers who have made a basic batch and want to understand how Booster or LME changes the beer.
What you’ll learn: How added fermentables affect ABV, body, mouthfeel, and malt flavor.
Level Three: A Can Plus Grains and Timed Hop Additions
The next rung on the ladder is steeping specialty grains. Steeping means soaking grains in hot water to pull out color, flavor, and body, then removing them before you proceed with the extract. This is not mashing, and you do not need to turn the brew day into a chemistry experiment. You are still firmly in Mr. Beer's extract lane.
A recipe at this level might call for grains like caramel malt, chocolate malt, or carapils malt. Caramel malt adds sweetness and a richer malt backbone, chocolate malt brings roast and a darker color, and carapils improves mouthfeel. You place the grains in a bag, steep them in hot water, lift the bag out, and then add your HME just as you did in Level One.
You may also see brewing booster or extra liquid malt extract at this level. Booster is an additive that helps build body and head retention without pushing flavor in a specific direction. Extra LME gives the yeast more sugar to work with, which raises the alcohol content and adds malt depth. Your active time barely changes, but the finished beer has more personality.
Bottling, Carbonation, and the Last Two Weeks
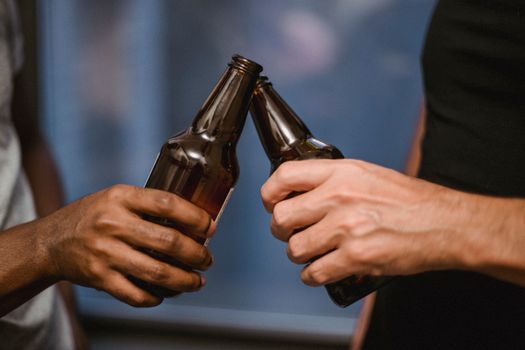
No matter which level you brew, the end of the batch looks the same. Once fermentation is done, after roughly 14 days for a typical batch, you bottle the beer. Carbonation happens inside those bottles, and it needs its own stretch of time. Plan on about another 14 days after bottling before the beer is properly carbonated.
If you want fizz that feels professional, treat carbonation like a measurement, not a guess. For Mr. Beer bottles, carbonation drops are the simplest route when you have them: add the recommended number of drops for your bottle size, fill, cap, and let the bottles carbonate at room temperature. More advanced brewers can use measured priming sugar, but the goal is the same: give the yeast a small, controlled amount of sugar so it can naturally carbonate the beer in the bottle.
After the beer is carbonated, a little extra conditioning time smooths out rough edges. Flavors blend, yeasty notes drop out, and the beer often tastes noticeably better two weeks after that. The hardest part of homebrewing is building enough stock that you are not drinking everything before it peaks.
Keep the Pipeline Full
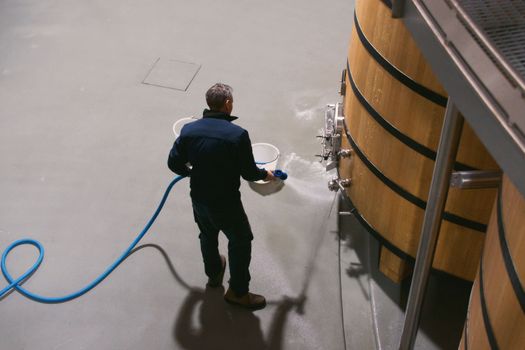
The 2-gallon format of Mr. Beer makes it easy to brew often. While one batch ferments, you can already be planning the next, and the recipes collection has ingredient packs at every level of the ladder you just climbed. If you need a brewing system first, the kits collection is where the equipment lives.
For video walkthroughs, troubleshooting, and seasonal inspiration, the Mr. Beer YouTube channel and The Brew Times blog are both worth a look. The short version of all the advice above is simple: sanitize everything, dissolve your extract completely, respect the fermentation schedule, and let carbonation finish. Do that, and your first Mr. Beer recipe will not be your last.
Frequently Asked Questions
How long does a Mr. Beer batch take from start to finish?
A basic brew day takes about 30 minutes of active time. After that, fermentation typically runs about 14 days, and bottling and carbonation add roughly another 14 days. The exact timing depends on the recipe style, the yeast, and the room temperature. Extra conditioning time after carbonation is optional, but it usually improves the beer.
What is the difference between a Mr. Beer recipe and a kit?
In Mr. Beer language, a recipe is the ingredient pack: the cans of hopped malt extract, liquid malt extract, booster, hops, yeast, and grains that become your beer. A kit is the brewing equipment system you use to make it, such as the complete 2-gallon kits in the Mr. Beer store. Beginners typically start with a kit and then buy recipes to keep brewing.
Why is sanitizing so important?
Sanitizing protects the beer from bacteria and wild yeast that can cause off-flavors, haze, and sourness. Your brewing water and extract are not sterile, and the yeast you pitch needs to dominate the batch without competition. Cleaning every surface, spoon, and bottle that touches the beer is cheap insurance and one of the biggest differences between great homebrew and spoiled beer.
Do I need an advanced boil for every Mr. Beer recipe?
No. The HME cans that anchor most Mr. Beer recipes are already hopped, so simple batches only need hot water to dissolve the extract, cold water to reach your volume, and the yeast packet. Recipes with grains or timed hop additions give brewers more control over flavor and aroma, but they are optional. Start at Level One, then climb the ladder as you get comfortable.


