

A hydrometer may look simple, but it's one of the most powerful tools in your homebrewing kit. It helps you track fermentation, know when your beer is ready, and even calculate alcohol content. Here's everything you need to know, broken down into simple steps.
Why You Need a Hydrometer
A hydrometer is one of the most affordable upgrades you can make to your brewing setup, yet it provides some of the most valuable information about your beer. Instead of guessing when fermentation is finished, you'll know for sure.
Owning a hydrometer helps you:
- Track fermentation progress with confidence, knowing when sugars have fully converted into alcohol.
- Calculate precise alcohol content (ABV) for every batch you brew.
- Prevent bottling problems by confirming fermentation is complete before packaging.
- Brew more consistent beer by comparing gravity readings across batches.
- Diagnose brewing issues early, such as a stalled or incomplete fermentation.
- Improve recipe accuracy and repeatability, helping you recreate your best brews.
- Gain more control over your brewing process, reducing guesswork and surprises.
- Low cost, high value, making it one of the smartest tools to add to any homebrew setup.
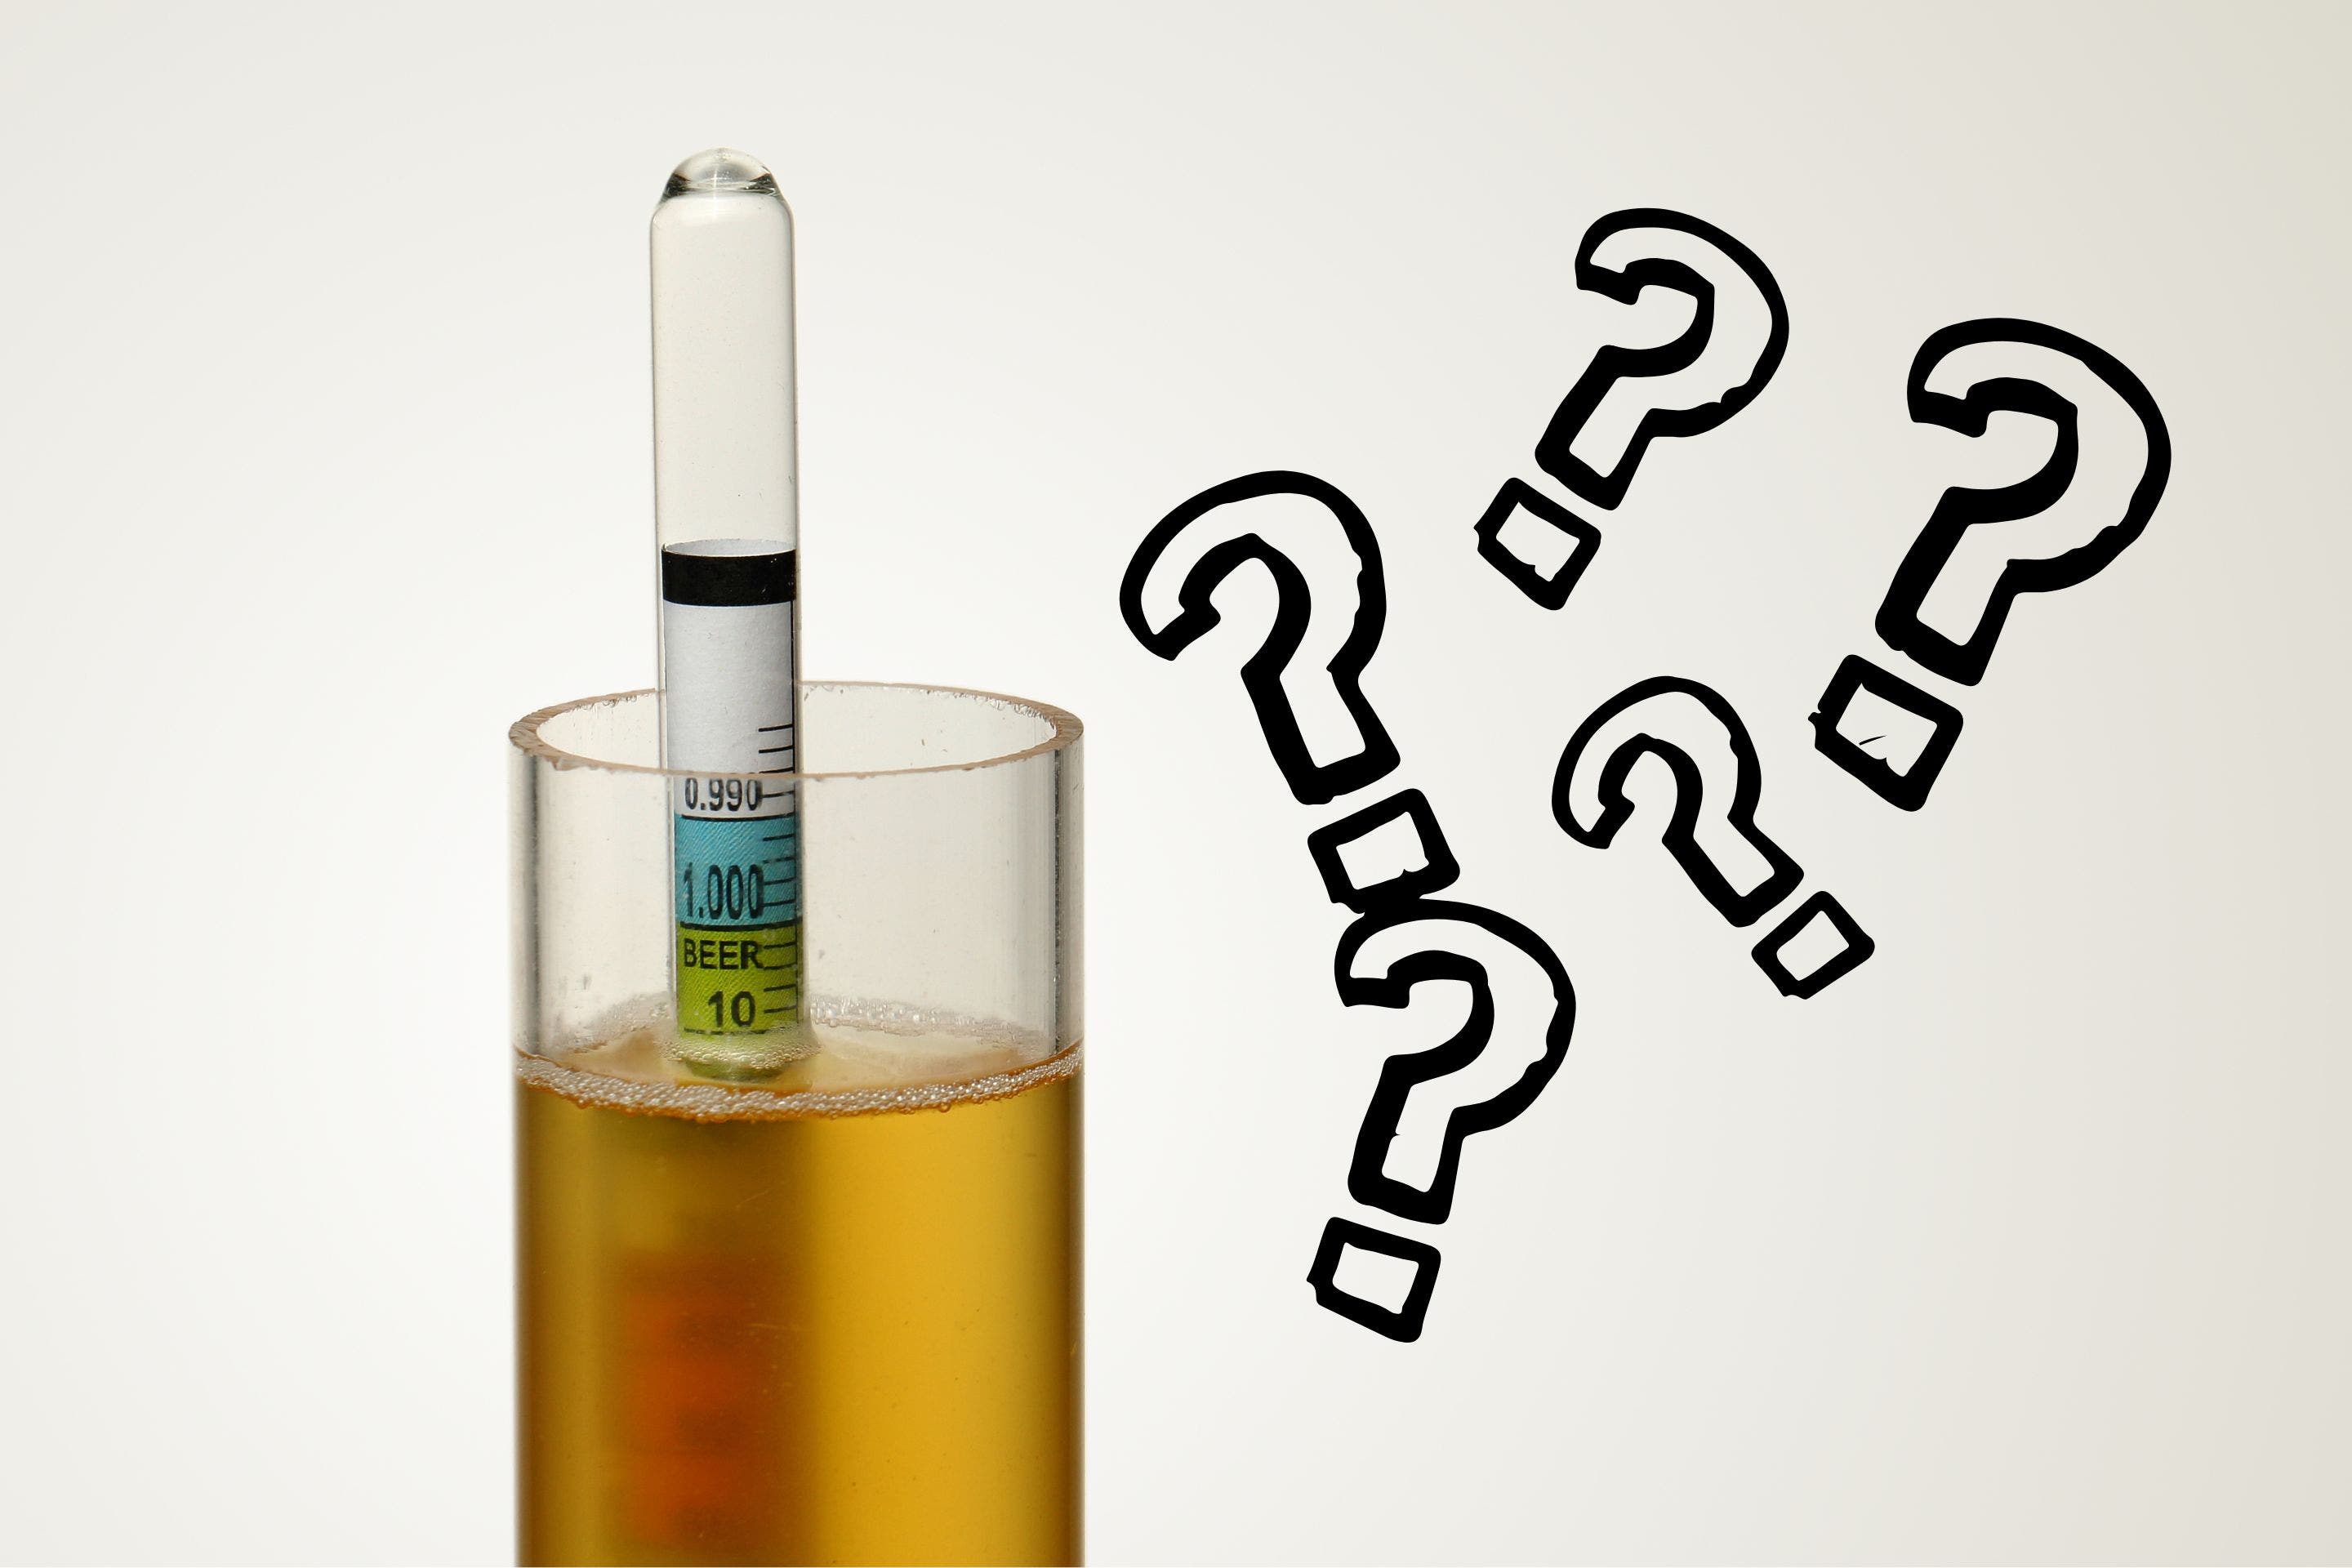
What is a Hydrometer
A hydrometer measures the density of a liquid compared to that of water. In beer, it measures sugar content:
↑ High float: lots of sugar.
↓ Lower float: sugar is turning into alcohol
→ Stops moving: fermentation is complete
Step 1: Take Your Original Gravity (OG) Reading
Before adding yeast, you need a baseline measurement:
- Fill your hydrometer test tube with enough cooled wort so the hydrometer can float freely.
- Gently lower the hydrometer into the liquid. Spin it slightly to remove any air bubbles.
- Wait for it to settle. Make sure it isn't touching the sides of the tube.
- Record the number where the liquid touches the hydrometer scale. This is your Original Gravity (OG).
Step 2: Monitor Fermentation
Fermentation is active when you see bubbles or foam, and your wort has a yeasty smell. Once activity slows and the smell changes to beer, it's time to check again.
Step 3: Take the Final Gravity (FG) Reading
After fermentation appears finished:
- Take a small sample and float the hydrometer as before.
- Record the number where the liquid meets the hydrometer scale; this is the Final Gravity (FG).
- If you're unsure, take a second reading 1-2 days later. If the number drops, fermentation is still active.
Step 4: Calculate Alcohol Percentage
To find the alcohol by volume (ABV), use this formula:
(OG - FG) X 131 = %ABV
Example: OG 1.050, FG 1.010 → (1.050 - 1.010) x 131 = 5.24 ABV
Account for Temperature
Hydrometers are calibrated for about 68°F. If your sample is warmer or cooler, your reading can be off. Use a temperature correction chart or online calculator to get an accurate number. Check out these free tools:
Tips for Using a Hydrometer
- Handle carefully: Sometimes hydrometers can be made out of glass and can break easily.
- Limit testing: Each sample exposes your beer to air and bacteria. Try to test before fermentation and after.
Where to Buy a Hydrometer for Your Next Brew
If you don't already have one, adding a hydrometer to your brewing gear is easy. You can order one directly from the Mr. Beer website, making it simple to add to your next ingredient or refill order.


