

Fermentation temperature is one of the most critical factors in homebrewing, yet it is often overlooked by beginners. The right temperature can make the difference between a perfectly balanced beer and one full of off-flavors. Whether you're brewing ales, lagers, or experimenting with specialty strains, understanding and controlling fermentation temperature is key to brewing success.
Why Control Fermentation Temperature?
Fermentation temperature control might just be the single most important factor for improving your homebrew. Dialing in the right temperature can make the biggest difference in flavor and consistency.
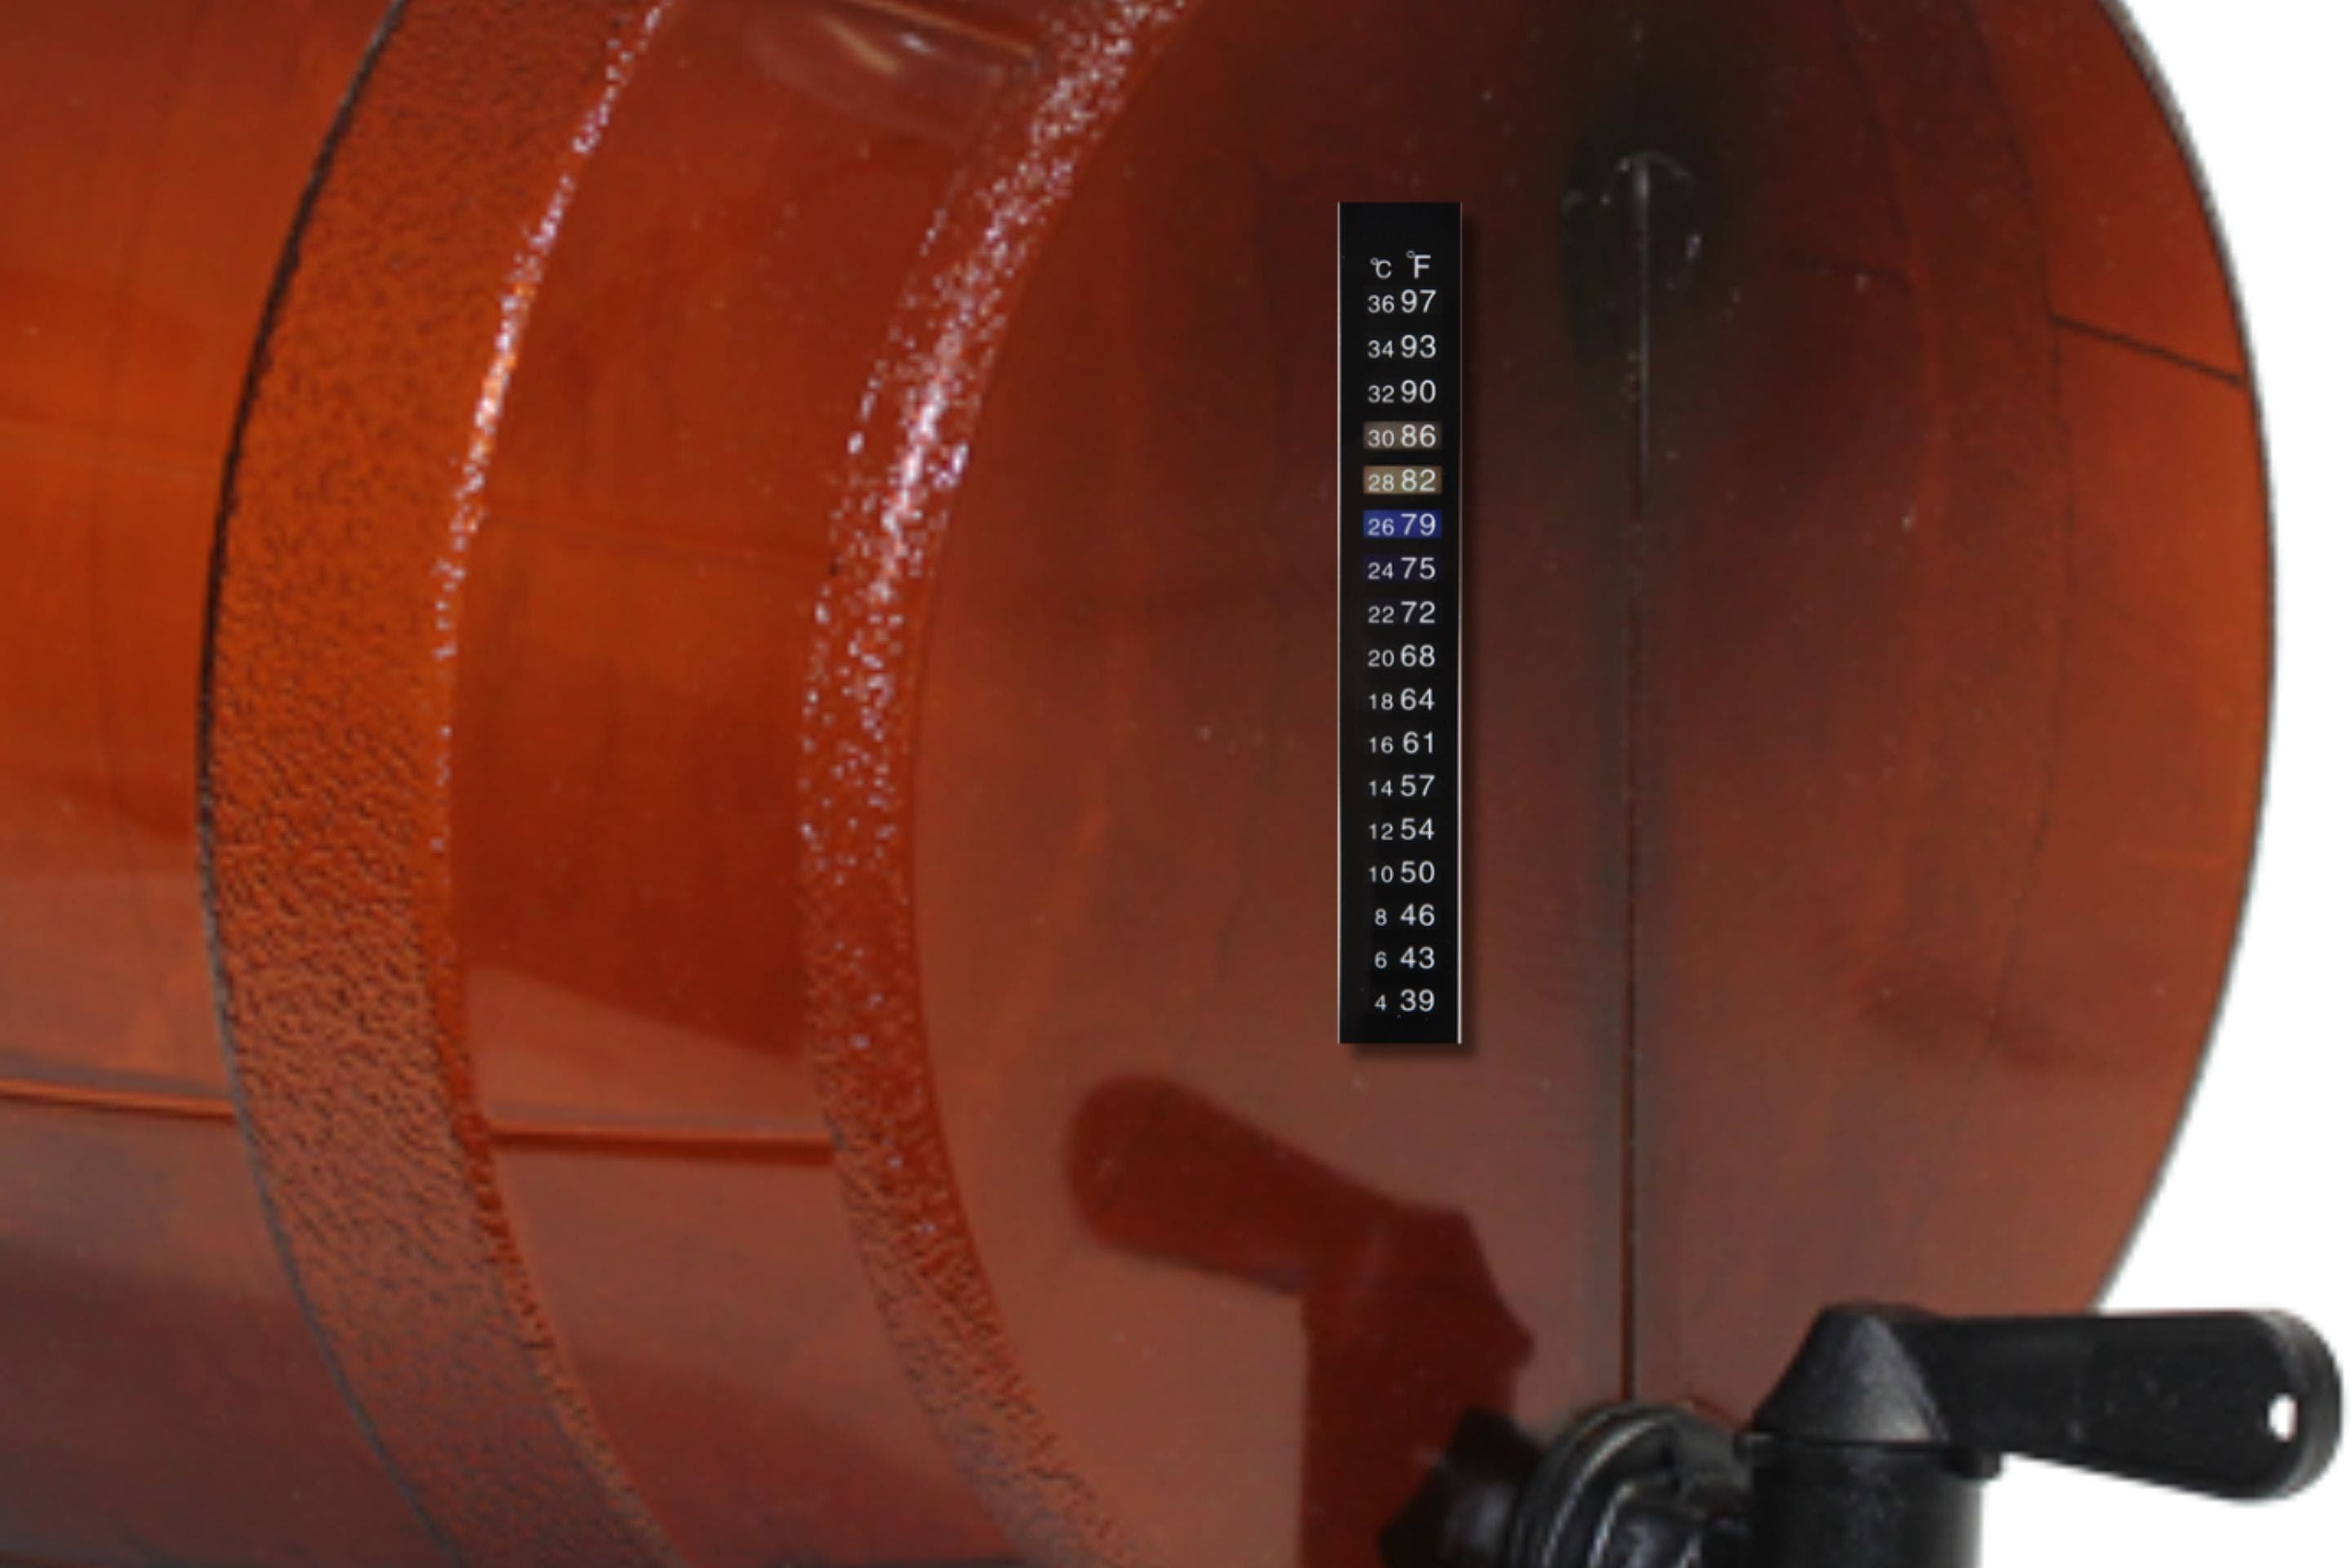
Your typical ale yeast performs best in the 66–72°F range, which is the sweet spot for healthy fermentation. In this range, the yeast do their job efficiently without producing excessive off-flavors.
Yeast naturally thrives in warmer temperatures, but the downside is that they reproduce faster and generate more esters, those fruity or solvent-like flavors that can overpower your beer. By pitching enough yeast and keeping your fermentation within the ideal temperature range, you can avoid these problems and brew cleaner, more balanced beer.
Temperature matters because yeast is extremely sensitive. When fermentation temperatures aren't controlled, your yeast can behave unpredictably:
- Too Hot: Yeast under stress produces fusel alcohols, which create harsh, solvent-like flavors. High temperatures can also cause excessive esters and diacetyl.
- Too Cold: Yeast can become lethargic or stall completely, leaving unfermented sugars behind. This results in overly sweet beer and creates an environment where bacteria and wild yeast can thrive.
Different beer styles and yeast strains have their own ideal temperature ranges, making precise control even more important.
Common Off-Flavors from Poor Temperature Control
Understanding the flavors that come from temperature mishaps can help you troubleshoot future batches:
- Fusel Alcohols: Boozy, harsh flavors caused by stressed yeast. Often mellow with extended conditioning, but best avoided.
- Esters: Fruity flavors like banana, pear, or even nail polish remover. Some are desirable in certain styles (like hefeweizens), but most beers benefit from a balanced profile.
- Acetaldehyde: Tastes like green apples or raw pumpkin. Naturally produced during fermentation by uncontrollable temperatures.
These off-flavors are natural but become noticeable when the fermentation temperature isn't optimized.
Ideal Fermentation Temperatures
While exact numbers vary by yeast and beer style, here's a general guide:
- Ales: 60–70°F (15–21°C) - Most Mr.Beer kits fit this range.
- Lagers: 45–55°F (7–13°C) for primary fermentation, then 32–36°F (0–2°C) for lagering.
- Specialty Strains (like Kveik): 70–100°F (21–38°C) - These heat-tolerant yeasts reduce the need for active cooling.
Controlling Fermentation in Hot Conditions (Summer Brewing)
When the weather heats up, fermentation can get out of control fast. High temperatures cause yeast to stress, creating fusel alcohols and unwanted esters that make your beer taste harsh.
Solutions for Hot Environments:
1. Temperature-Controlled Fridge or Freezer
The gold standard. Pair a mini-fridge or chest freezer with a controller to precisely manage heating and cooling
2. Swamp Cooler
Place your fermenter in a water bath. Add ice packs to cool or a small heater to lower the temperature. Simple, effective, and inexpensive.
3. Cool, Stable Locations
Basements, closets, or under sinks often stay cooler than the rest of the house. Try to avoid any direct sunlight, which warms your beer and can cause off-flavors.
4. Heat-Tolerant Yeast
Strains like Kveik perform well in warmer temperatures.
Controlling Fermentation in Cold Conditions (Winter Brewing)
Cold temperatures can slow yeast down or even stall fermentation, leaving unfermented sugars and creating an opportunity for bacteria or wild yeast.
Solutions for Cold Environments:
1. Heat Wraps and Blankets
Wrap fermenters in blankets or use electric heating wraps during cold months to keep yeast in its ideal range.
2. Swamp Cooler
Place your fermenter in a water bath and use warm water bottles or a small aquarium heater to gently raise the temperature.
3. Stable Indoor Locations
Use pantries or closets and avoid unheated areas like garages.
Lagering Your Homebrew
Lagering can seem intimidating for homebrewers, mainly because it requires precise temperature control over a long period. But with the right setup, it's absolutely possible, and the results are worth it.
What is Lagering?
Lagering is a beer-aging process that involves long, cold storage of fermented beer. This cold conditioning usually lasts weeks or even months and uses bottom-fermenting yeast. The goal is to mature flavors, enhance clarity, and create a smoother, crisper beer.
These near-freezing temperatures allow yeast and other solids to settle out, reducing harsh flavors and letting subtle notes emerge. This is what sets lagers apart from ales.
Key Aspects of Lagering
- Cold Storage: Keep your beer at very cold temperatures, often just above freezing, for the entire lagering period.
- Flavor Development: The cold slows yeast activity, allowing it to reabsorb byproducts like diacetyl and acetic acid, resulting in a cleaner, smoother taste.
- Clarity: Yeast and other suspended particles settle out, producing a bright, clear beer.
- Process: After primary fermentation, perform a diacetyl rest, a brief warm period that encourages yeast to clean up unwanted flavors, before gradually cooling the beer for the long lagering phase.
What Lagering Achieves:
- Smoother Taste: Harsh or "hot" notes are mellowed for a crisp, clean finish.
- Better Clarity: The beer becomes visually bright and appealing.
- Enhanced Stability: Lagered beer has improved shelf life and more consistent flavors.
Tips for Homebrewers:
- Maintaining stable, near-freezing temperatures is critical. Use a fridge or freezer with a temperature controller if possible.
- Patience pays off: even a few weeks of lagering can improve flavor, while months-long conditioning produces professional-quality beer.
- For beginners, consider shorter "mini-lagering" periods (2-4 weeks) if long-term cold storage isn't possible.
Takeaway
Controlling fermentation temperature is one of the easiest ways to improve your homebrew. By keeping your yeast happy, whether it's hot in the summer or cold in the winter, you'll avoid off-flavors and produce cleaner, better-tasting beer every time.
Adding a proper lagering phase takes patience and precise temperature control, but it can elevate your homebrew from a good ale to a crisp, smooth, professional-quality lager.
Whether you're brewing a crisp lager, a fruity ale, or experimenting with new strains, understanding and controlling fermentation temperature is essential for homebrewing success.


