Don't Dump That Yeast: How to Reuse It (and Even Bake with It!)

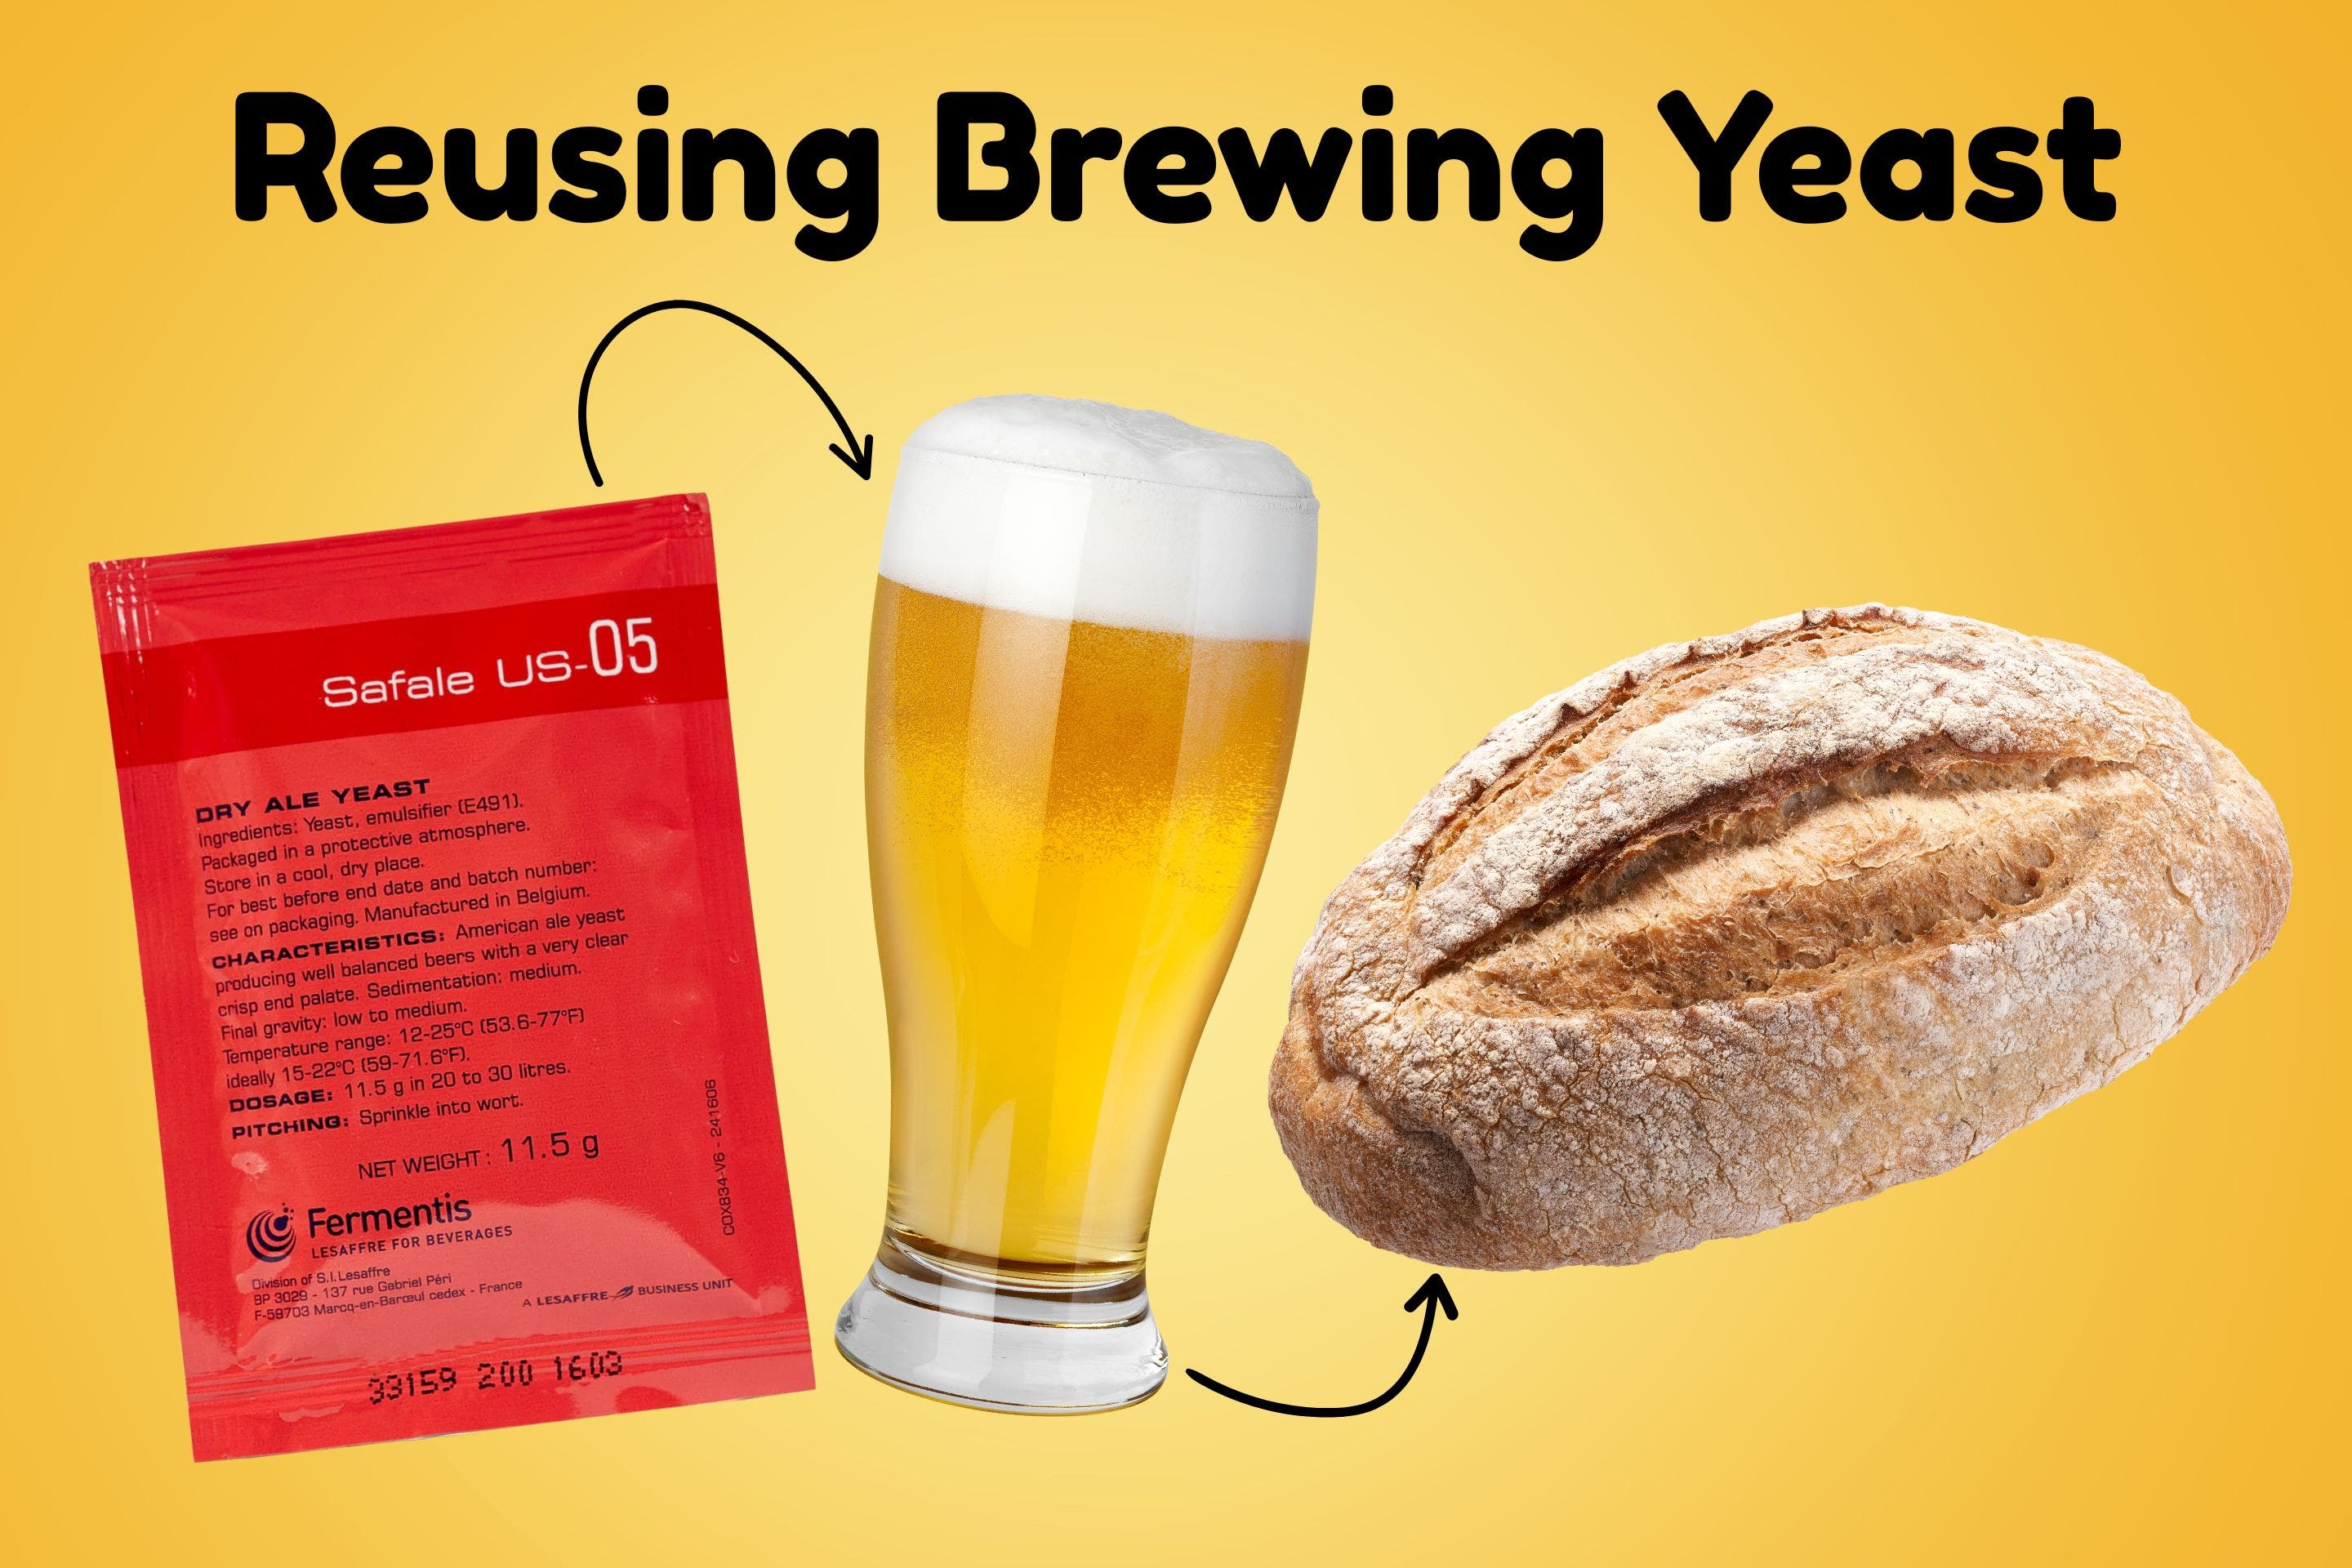
Let's talk about something that often gets tossed out but deserves a little more love — your yeast. After your beer finishes fermenting, you might be in the habit of rinsing everything clean and moving on. But wait! That cloudy layer of sediment at the bottom of your fermenter isn't just gunk — it's a goldmine. Resuing your yeast not only saves you a few bucks but can kickstart and even improve your fermentation. And get this...you can even make bread with it.
Why Reuse Yeast?
When you buy fresh yeast from the homebrew shop, you're getting brand-new cells that haven't met sugar yet. So when they hit your wort, they take a little time to adjust — a lag phase — before they really get to work turning sugar into booze and bubbles. That warm-up period can slow things down by a day or two.
Reused yeast, though? It skips the small talk. It's already been in action, it knows the drill, and it's ready to jump back in. Since you're harvesting it from a finished batch, the surviving cells are the strongest of the bunch. That means faster. smoother fermentations and a head start on your next brew. Pitching a healthy population of yeast can lead to cleaner fermentation and fewer off-flavors. Plus, some brewers say that reusing the same strain helps develop a signature "house flavor" across their beers. Pretty cool, right?
When Not to Reuse Yeast
If your last batch was high-gravity or super boozy, it's best not to reuse it. Alcohol stresses out the cells and they don't store well. Also, if you're switching up styles or trying something funky, stick with fresh yeast.
How to Harvest and Rinse Yeast (The Easy Way)
After bottling your beer, you'll see a layer of sediment at the bottom of your fermenter, otherwise known as trub. Before you toss it, take a minute to rinse it — not wash it (yep, there's a difference). Yeast rinsing is all about separating the healthy yeast from some of the junk (hop particles and dead cells). If you're curious about the difference between rinsing vs. washing, check out this breakdown from the American Homebrewers Association.
Step-by-step:
1.) Scoop and Store: Pour the trub into a sanitized container, leaving some beer behind to keep it loose.
2.) Add Water: Fill the container with about 4x the amount of sterile, cool water. Leave a bit of space at the top.
3.) Shake It Up: Seal it and shake the container for a couple of minutes.
4.) Let it Settle: After 10 minutes or so, you'll see layers forming:
- Top layer = mostly water
- Middle = healthy, happy yeast
- Bottom = dead cells
5.) Decant the Good Stuff: Gently pour the middle layer into another sanitized jar.
6.) Store in the fridge: Pop your yeast jar in the fridge and use it within 1-4 weeks for best results. Just remember to leave the lid a little loose for the first few days to avoid pressure buildup.
Bonus: Turn your Leftover Yeast Into Bread
Yep, that same leftover yeast, or trub, you're about to rinse and save? You can also bake bread with it. It's one of our favorite Mr. Beer pro tips, and it's a fun way to stretch your homebrew ingredients even further.
We call it Trub Bread, and it's simple, tasty, and kind of a flex. Here's how it works:
Turb Bread Recipe
You'll need to make a starter the night before, then get into baking the next day.
Trub Starter (Make the Night Before):
- 1/2 cup Trub
- 3/4 cup flour
- 1 tablespoon sugar
Instructions:
Mix everything in a bowl until it looks like a liquid paste. Cover with a kitchen towel and let it sit overnight.
Bread Dough:
- 2 cups flour
- 2 tablespoons sugar
- 1 teaspoon salt
- 1 teaspoon dry bread yeast
- 1/3 to 1/2 cup warm water
Instructions:
1.) In a mixing bowl, combine flour, sugar, salt, and bread yeast.
2.) Make a well in the center and add your trub starter and some warm water.
3.) Mix until a dough forms, adding more water if needed. You want a not-too-wet, not-too-dry consistency.
4.) Don't overwork it! Once it forms a nice dough ball, place in a butter pan or bowl.
5.) Cover with a damp towel and let it rise until doubles in size.
6.) Punch it down (yes, Bruce Lee style), shape into a loaf, and bake at 400°F for 30 minutes.
7.) You'll know it's done when the top is golden brown and it sounds hollow when tapped.
Optional: Brush the top with melted butter after baking for extra goodness.
Snap a pic, post it, and don't forget to tag us — we want to see those loaves! For just the full bread recipe check out Trub Bread.
Whether you're pitching yeast into your next batch or into a bowl of flour, don't let that yeast go to waste! Reusing your yeast saves money, improves fermentation, and gives you another way to geek out over your beer — even if it ends up on a sandwich.
Cheers to less waste and more flavor!
