


Your first batch of homebrew probably will not feel the way you imagine it.
There is less standing over a bubbling kettle than you might expect, more waiting than most beginners realize, and a surprisingly small amount of equipment involved when you start with a simple extract-based system.
The hardest part is usually not making the beer. It is resisting the urge to mess with it while the yeast does its job.
This homebrewing for beginners guide is not another step-by-step recipe. We already have a complete guide to making beer at home for that. Instead, this is what your first batch is actually like — what to expect on brew day, what happens during fermentation, what beginners tend to worry about, and what you will know by the time you pour your first beer.
This guide is intended for adults age 21 and older.
- Brew day is the short part. A basic Mr. Beer brew day takes about 30 minutes of active time.
- Most of homebrewing is waiting. Fermentation and carbonation do most of the work after brew day.
- Sanitation matters more than fancy equipment. Clean and sanitize anything that will touch your beer.
- Do not judge fermentation by one visual clue. Follow the instructions and timeline for the beer you are brewing.
- Your first batch is a baseline. Keep a few notes so your second batch is even easier.
What Your First Batch Actually Looks Like
Homebrewing has a long calendar but a surprisingly short list of things you actually have to do.
| Stage | What You're Doing | What It Feels Like |
|---|---|---|
| Before brew day | Read the instructions, gather equipment, chill water, and clear a workspace | Mostly preparation |
| Brew day | Sanitize, prepare the wort, fill the fermenter, and add yeast | Shorter and simpler than expected |
| Fermentation | Keep the fermenter in the recommended conditions and let the yeast work | Mostly waiting |
| Bottling | Sanitize bottles, add the correct carbonation supply, fill, and cap | Simple but repetitive |
| Carbonation & conditioning | Leave the bottles alone until the beer is ready, then chill one and taste it | More waiting — but now there is beer at the end |
For many basic Mr. Beer batches, the entire process lands somewhere around four to five weeks from brew day to the first chilled bottle. The exact schedule depends on what you're brewing, so the instructions for your specific refill or recipe always win.
Before Brew Day: You Need Less Equipment Than You Think
The image many people have of homebrewing involves giant kettles, hoses, glass carboys, pumps, grain mills, and enough stainless steel to make the kitchen look like a small brewery.
You can absolutely get there someday if you want to.
You do not need to start there.
A beginner-friendly complete kit gives you the core brewing and bottling equipment for the included batch. You'll also use a few ordinary kitchen items such as a pot, spoon or whisk, and water.
If you're still deciding which setup makes sense, our beginner beer-making kit comparison breaks down the different options.
Your first batch is a much better teacher than a shopping cart full of equipment you've never used.
Extract Brewing Is a Great Place to Start
You do not have to start with extract brewing, but it is one of the easiest ways to reduce the number of things you need to manage on your first brew day.
Traditional all-grain brewing starts with malted grain and requires a mash to convert the grain's starches into fermentable sugars.
Malt extract brewing starts after much of that work has already been done. Mr. Beer uses Hopped Malt Extract, or HME, which already contains the malt base and hops for the beer.
That does not mean extract beer is a lesser version of homebrew. It means you're learning fermentation, sanitation, bottling, and recipe timing before deciding whether you want to add mashing and a longer brew day to the hobby.

Brew Day: Read First, Brew Second
The best thing you can do before opening anything is read the entire recipe once.
That sounds obvious until you are standing at the stove with hot water, an open can of extract, and a question you could have answered five minutes earlier.
For a basic Mr. Beer batch, one detail is especially important: you do not boil the Hopped Malt Extract.
The standard process brings the brewing water to a boil first, removes the pot from the heat, and then stirs in the brewing extract. The mixture you create is called wort — the unfermented beer that the yeast will later transform.
If your particular recipe includes additional grains, hops, Booster, LME, fruit, or other ingredients, follow that recipe's instructions instead of trying to apply one universal process to every beer.
First-batch rule: Don't freestyle. Follow the recipe exactly once. You can start changing things after you know what the original beer tastes like.
Sanitation Will Feel More Serious Than the Brewing
New brewers often expect ingredient measurements or fermentation science to be the intimidating part.
Then they discover how often brewing instructions use the word sanitize.
There is a reason.
Anything that touches your beer needs to be clean, and anything that touches it during the brewing, fermentation, or bottling process should be sanitized as directed. You are creating an environment where yeast can thrive, which means you do not want unwanted microorganisms joining the party.
The distinction is simple:
- Cleaning removes visible dirt and residue.
- Sanitizing reduces the microorganisms you do not want in your beer.
You cannot sanitize dirt, so cleaning comes first.
Our homebrew cleaning and sanitizing guide goes deeper if you want the full routine.
Fermentation: This Is Where Beginners Start Overthinking
You put the beer in the fermenter. You add the yeast. You close the lid.
Then suddenly there is nothing for you to do.
This is usually the point where a new brewer starts wondering whether fermentation is actually happening.
You may notice foam, sediment, changing appearance, or other signs that the yeast is working. You may also notice less visible activity than you expected.
Do not use one visual clue as your entire fermentation test.
Follow the temperature range and schedule provided for the beer you are brewing, keep the fermenter out of direct sunlight, and leave it closed unless the instructions actually require you to open it.
The yeast does not need supervision.
Bottling Day Is Mostly Repetition
Bottling sounds technical until you do it once.
Clean and sanitize the bottles and caps, add the carbonation drops or measured priming sugar required by your instructions, fill each bottle, and cap it.
Then you wait again.
The yeast that remains in the beer uses that small amount of fermentable sugar to naturally carbonate the beer inside the sealed bottle.
It is normal for bottle-conditioned homebrew to develop some sediment at the bottom. Once the beer has finished conditioning, chill the bottle thoroughly and pour slowly into a glass, leaving the sediment behind.
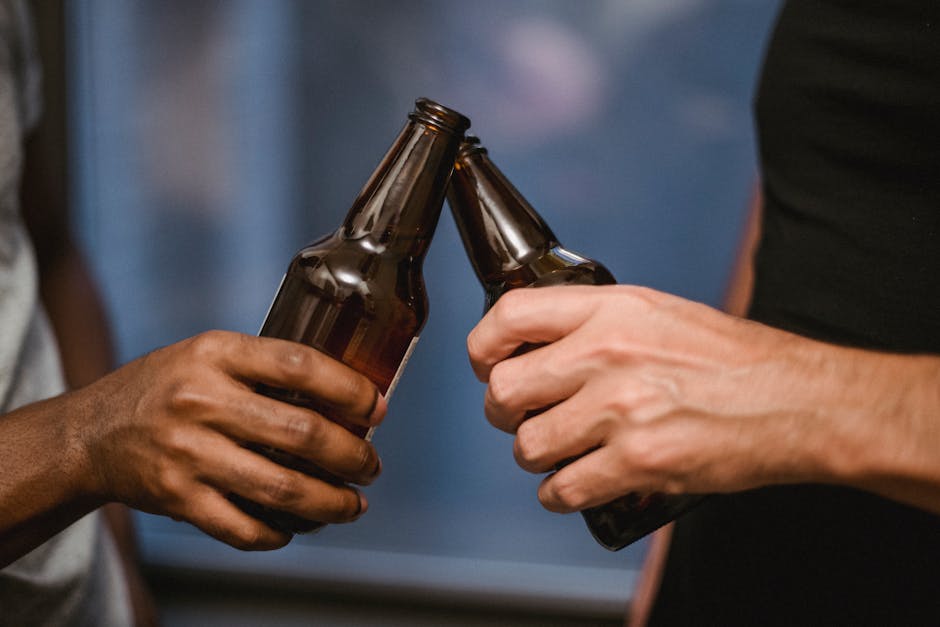
Your First Beer May Taste Young
This is one expectation worth setting before brew day.
Conditioning does not always stop being useful the moment the minimum timeline on the calendar arrives.
If your first chilled bottle tastes a little rough around the edges, that does not automatically mean the batch failed. Give the remaining bottles more time at room temperature, then chill another and try again.
That is one of the useful things about brewing your own beer: you get to taste how the beer changes over time.
What Beginners Usually Worry About vs. What Actually Matters
| Beginner Worry | What Matters More |
|---|---|
| “Do I need expensive equipment?” | Having the correct basic equipment and keeping it clean |
| “Should fermentation look more active?” | Following your recipe's time and temperature guidance |
| “Should I add something to improve the recipe?” | Brewing the recipe as written before modifying it |
| “Why is there sediment in my bottle?” | Pouring carefully and leaving bottle-conditioning sediment behind |
| “Was my first beer perfect?” | Whether you enjoyed brewing it and learned what you want to try next |
Keep a Few Notes — You Do Not Need Brewing Software Yet
Your first batch becomes much more useful if you write down what happened.
You do not need a complicated brewing journal. A note on your phone is enough.
Record things such as:
- What beer you brewed
- The brew date
- Where you kept the fermenter
- Anything unusual you noticed
- The bottling date
- When you tasted the first bottle
- What you liked and what you would change
By batch two, those notes give you something much more useful than memory.
If nothing went wrong, great. Now you know your process works.
If something did go wrong, you have a starting point for figuring out why.
What Beer Should a Beginner Brew First?
Start with a beer you actually want to drink.
There is no rule that your first beer needs to be pale, dark, hoppy, malty, a lager, or an ale. Beer style names alone do not tell you how difficult a recipe is.
Instead, look at the actual brewing process.
A straightforward refill with a basic brew day can be beginner-friendly whether the finished beer is light, amber, wheat-forward, dark, or hop-forward.
Recipes with additional grain steeps, hop boils, dry hopping, fruit additions, specialty yeast, or other extra steps may ask a little more from the brewer — and can be a fun next step once the basic process feels familiar.
What Changes After Your First Batch?
The biggest change is that everything stops being theoretical.
You now know:
- How much space your equipment actually takes
- How your kitchen works on brew day
- Where you like to keep the fermenter
- How long bottling feels
- How much beer a batch actually gives you
- Whether you want to keep things simple or start experimenting
Your reusable equipment is already sitting there, so the next batch can simply be another compatible refill or recipe.
Standard, Deluxe, and Craft refills offer different beer and malt profiles while keeping the core process approachable. Recipe kits can introduce additional hops, grains, yeast, fruit, and other techniques when you're ready to do a little more.
If you're still deciding whether this sounds like your kind of hobby, our guide to whether homebrewing is worth it covers the time, equipment, cost, and hobby side in more detail.
Frequently Asked Questions About Your First Homebrew
Is homebrewing difficult for a beginner?
It does not have to be. Starting with a simple extract-based system removes several traditional brewing steps, so a beginner can concentrate on sanitation, following the recipe, fermentation, and bottling before deciding whether to explore more advanced methods.
How long does a first batch of homebrew take?
A basic Mr. Beer brew day takes about 30 minutes of active time, but fermentation and bottle conditioning add several weeks. Many basic batches land around four to five weeks total. Always follow the timeline for the specific beer you are brewing.
Do I need expensive brewing equipment?
No. A complete beginner kit provides the core brewing and bottling equipment needed for the included batch, and you can add specialty equipment later if you decide you want more control over the process.
Should I start with extract or all-grain brewing?
Either can make excellent beer, but extract brewing is usually simpler for a first batch because the mashing step has already been handled. That means less equipment and fewer brew-day variables while you learn the rest of the process.
How do I know if fermentation is working?
Visible signs can vary, so do not rely on one clue such as foam or bubbling. Keep the fermenter within the recommended conditions and follow the fermentation timeline and completion guidance for your specific recipe.
Is sediment in homebrew bottles normal?
Bottle-conditioned beer can develop sediment as yeast settles to the bottom. Chill the beer thoroughly and pour slowly into a glass, leaving the sediment behind in the bottle.
What should I brew for my first beer?
Choose a beer you enjoy drinking and look for a straightforward recipe. Brewing difficulty depends more on the actual ingredients and process than whether the beer is light, dark, hoppy, malty, a lager, or an ale.
Your First Batch Is Supposed to Teach You Something
You do not need to know everything about beer before you brew one.
You learn what sanitation feels like by sanitizing. You learn fermentation by watching a batch ferment. You learn bottling by filling bottles. And you learn what you want to change by tasting beer you actually made.
That is why the first batch matters.
Not because it needs to be perfect.
Because once you've brewed it, you're no longer wondering whether you can make beer at home.
You already did.
Ready for batch number one?
Start with a beginner-friendly brewing setup, pick a beer you actually want to drink, and learn the rest by brewing it.


