

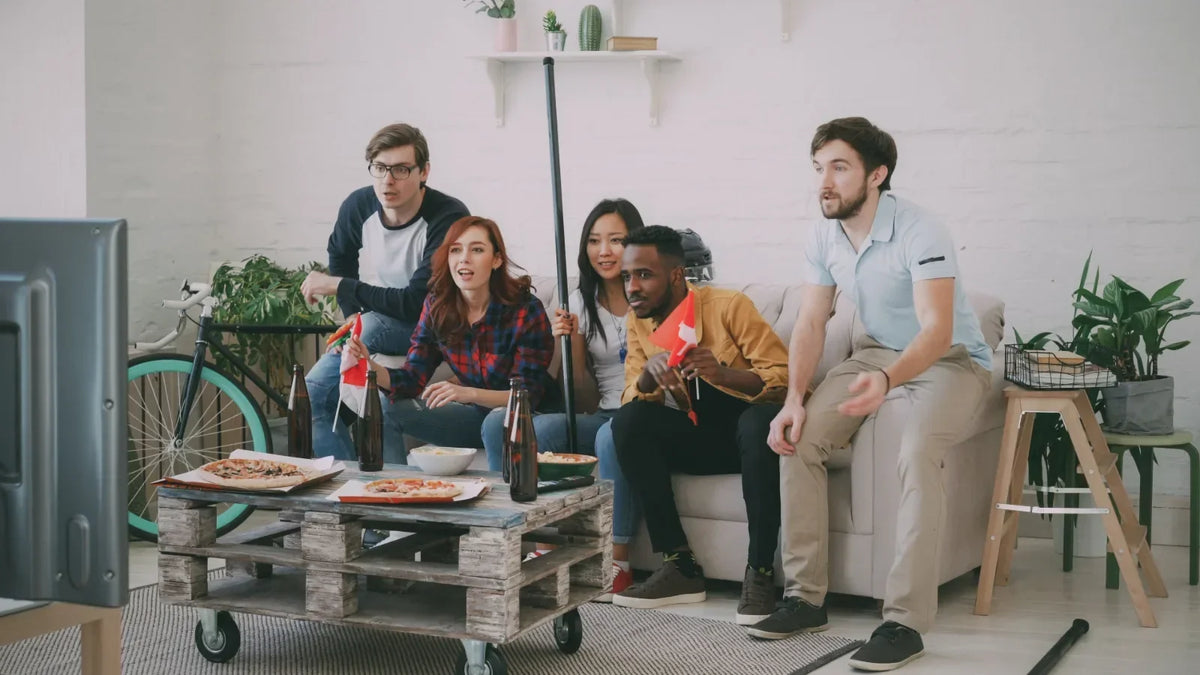
Game day has a deadline. Your yeast does not care.
If you want to pour your own homebrew at kickoff, the trick is not finding a shortcut that forces the beer to finish faster. It is starting early enough that fermentation and carbonation get the time they need.
For many basic Mr. Beer batches, the easiest planning rule is simple: start about five weeks before the game you want to serve the beer at. Six weeks is even better if you want a little extra conditioning time and some breathing room in the schedule.
This guide walks backward from game day so you know when to brew, ferment, bottle, carbonate, chill, and finally crack open the beer you made yourself.
This guide is intended for adults age 21 and older.
- Start 5 weeks before game day. That gives a typical basic Mr. Beer batch about 3 weeks to ferment and 2 weeks to carbonate.
- Six weeks is even better. A little extra conditioning time gives you more flexibility if the beer needs it.
- Do not rush fermentation. Follow the timeline and temperature guidance for the specific refill or recipe you're brewing.
- Brew day is the short part. Many basic Mr. Beer batches take about 30 minutes of active brew-day time.
- Starting late? Brew for the next game rather than shortening fermentation or carbonation.
The 5-Week Game Day Homebrew Countdown
Think of your brewing schedule as a countdown from kickoff.
| Time Before Game Day | What to Do | What Matters |
|---|---|---|
| 5+ weeks out | Choose your beer and brew it | Follow the exact recipe and start on schedule |
| Weeks 5–2 | Ferment | Keep the beer within the temperature range specified by the recipe |
| About 2 weeks out | Bottle and begin carbonation | Use the carbonation amount required by your instructions |
| 2–3 days out | Chill the bottles you plan to serve | A thorough chill helps the beer pour better and lets sediment settle |
| Game day | Pour and enjoy | Pour slowly and leave bottle-conditioning sediment behind |
Want the low-stress version? Brew six weeks ahead instead. If the beer tastes great at five weeks, perfect. If another week improves it, you've already built that time into the schedule.
5 Weeks Out: Pick the Beer and Brew It
Your first decision is not how quickly you can ferment something. It is what you actually want to drink during the game.
Crisp lagers, wheat beers, pale ales, amber ales, Oktoberfest-style beers, porters, and stouts can all fit a game-day spread depending on the food, weather, and people you're serving.
If you need help choosing, start with our guide to the best beer styles for game day. It covers crowd-friendly styles, food pairings, and a few current Mr. Beer options.
Once you've chosen the beer, check its actual instructions before putting brew day on the calendar. A straightforward refill may follow the standard timeline, while recipes with additional grains, hops, fruit, specialty yeast, or other steps can have different schedules.
A Short Brew Day Does Not Mean Instant Beer
One of the advantages of the Mr. Beer system is that many basic batches require only about 30 minutes of active brew-day time.
That means you can brew on a weeknight or Saturday morning without turning the whole day into a production.
But the short brew day is only the beginning.
Fermentation and bottle carbonation happen on their own schedule afterward, and those are the parts you do not want to compress just because kickoff is getting closer.
Weeks 5–2: Let Fermentation Do Its Job
Once the yeast goes in, the smartest deadline strategy is patience.
Do not move the fermenter somewhere warmer because you hope the yeast will finish faster. Do not open it every day to check progress. And do not assume that one visual sign — or lack of one — tells you whether fermentation is finished.
Instead:
- Follow the fermentation temperature listed for your specific recipe and yeast.
- Keep the fermenter out of direct sunlight.
- Avoid unnecessary temperature swings.
- Leave the fermenter closed unless the recipe specifically requires an addition.
- Give the beer the full fermentation period listed in its instructions.
Different yeast strains and recipes can call for different conditions, which is why there is no single universal fermentation temperature for every beer.
Deadline rule: Never solve a scheduling problem by shortening fermentation. Solve it by starting earlier — or choosing a later game.
About 2 Weeks Out: Bottle and Carbonate
Once fermentation is complete according to the instructions for your beer, it is time to package it.
For bottle-conditioned Mr. Beer batches, sanitize your bottles and caps, add the correct carbonation drops or measured priming sugar required by the instructions, fill the bottles, and cap them.
Then the waiting starts again.
The remaining yeast uses the small amount of fermentable sugar in the sealed bottle to create carbonation naturally. For many standard Mr. Beer batches, the current schedule allows about two weeks for carbonation.
Keep the bottles under the conditions specified by your instructions during this stage rather than tossing them straight into the refrigerator.
Why You Should Not Rush Bottling
Packaging beer early does not make it finish sooner.
If fermentation is still active, putting the beer into sealed bottles creates a different problem instead of solving the original one.
When game day is the target, the best insurance is having enough time on the front end — not shaving days off the back end.
2–3 Days Before Game Day: Chill the Beer
Do not wait until guests are walking through the door to put your homebrew in the refrigerator.
Give the bottles a good chill before serving. For bottle-conditioned beer, chilling also helps yeast and other sediment settle more firmly toward the bottom of the bottle.
Around 48 hours in the refrigerator is a good target before opening the first bottle.
When you pour, go slowly and leave the final bit of sediment behind.
Hosting tip: Chill only as many bottles as you expect to serve. If the remaining bottles would benefit from more conditioning time, they can stay at room temperature according to the recipe's storage guidance.
Game Day: Pour the Beer You Planned Five Weeks Ago
This is the easy part.
Get the food out, keep water and non-alcoholic options handy, and pour the beer slowly into a clean glass.
If you're serving more than one style, you do not need a huge lineup. A crisp option, a hop-forward option, and a malt-forward option can cover a wide range of tastes.
And yes, serving beer you brewed yourself during the game feels considerably better than realizing during the first quarter that you should have started brewing three Saturdays ago.
What If You Started Too Late?
This is where the best homebrewing advice may also be the least exciting:
Do not rush the beer.
The goal is not merely to have liquid in a bottle by kickoff. The goal is to have beer you are happy to pour.
Which Beer Should You Brew for Game Day?
The timeline does not have to dictate the flavor.
A straightforward Mr. Beer refill can give you a wide range of options while keeping brew day simple:
- Wheat beer or a light, crisp style for an approachable crowd-friendly pour
- Pale ale or IPA when your group likes more hop aroma and bitterness
- Amber ale or Oktoberfest-style beer with burgers, brats, barbecue, and fall weather
- Porter or stout for colder days and richer food
Difficulty should be judged by the actual recipe, not the beer's color or style name. A basic refill can have a straightforward brew day whether the beer is pale, dark, malty, or hop-forward.
For a deeper breakdown, see Best Beer Styles for Game Day: What to Brew at Home.
Refills vs. Recipes When You're Brewing on a Calendar
If your priority is a predictable, straightforward brew day, a refill is an easy place to start.
Standard, Deluxe, and Craft refills offer different beer and malt profiles while keeping the core Mr. Beer brewing process approachable. Those labels are not difficulty levels.
Recipe kits may introduce additional steps such as:
- Steeping specialty grains
- Hop boils or hop additions
- Dry hopping
- Fruit or spice additions
- Specialty yeast
- Other recipe-specific techniques
That does not mean recipes are a bad choice for game day. It simply means you should read the instructions first and make sure the recipe's full schedule fits your target date.
Game Day Brewing Mistakes to Avoid
Frequently Asked Questions
How far ahead should I brew beer for game day?
For many basic Mr. Beer batches, start about five weeks ahead. Current standard timelines commonly allow about three weeks for fermentation followed by about two weeks for bottle carbonation. Six weeks gives you additional conditioning time and a useful buffer.
Can I make homebrew in less than five weeks?
Some recipes and brewing methods use different schedules, but do not shorten the published fermentation or carbonation timeline just to hit an event date. Follow the instructions for the specific beer you're brewing. If the schedule does not fit, plan that batch for a later game.
What temperature should I ferment my game day beer at?
Use the temperature range specified for your recipe and yeast. There is no universal fermentation temperature that is correct for every beer. Keep the fermenter away from direct sunlight and avoid unnecessary temperature swings.
How long does Mr. Beer take to brew?
A basic brew day takes about 30 minutes of active time. Many current Mr. Beer kits then use about three weeks of fermentation and two weeks of bottle carbonation, putting the full process at roughly four to five weeks depending on the specific beer.
Can I bottle my beer early so it is ready for the game?
No. Do not package a beer early simply to meet an event deadline. Follow the fermentation-completion guidance for your recipe before bottling, then give the bottles their required carbonation time.
How long should I chill homebrew before serving?
For bottle-conditioned Mr. Beer, chilling a bottle for about 48 hours before serving is a good target. This gives the beer time to cool thoroughly and helps bottle sediment settle before you pour.
What is the best beer to brew for game day?
Choose a beer your crowd will enjoy and a recipe whose timeline fits your date. Crisp lagers and wheat beers work well for mixed groups, pale ales suit hop fans, amber and Oktoberfest-style beers pair well with grilled food, and darker beers can be a great fit for cold-weather games.
The Best Shortcut Is Starting Early
You do not need fermentation tricks, pressure hacks, or a race against the calendar to serve homebrew on game day.
You need five weeks.
Pick the game. Count backward. Brew the beer. Give the yeast time to work. Give the bottles time to carbonate. Chill them before kickoff.
And if you miss the deadline?
There is another game next weekend.
Five weeks until game day?
Pick the beer you want to pour at kickoff and get brew day on the calendar.


