

The Brew Times
Tips for Reusing Commercial Glass Beer Bottles
{{widget type="Solvature\VideoSlider\Block\Widget\VideoSliderWidget" video_embed1="2xsvQk8hG34" video_title1="Tips for Reusing Commercial Glass Beer Bottles" video_cta_color1="white" video_cta_color2="white" video_cta_color3="white" video_cta_color4="white" video_cta_color5="white"}} If you drink a decent amount of beer chances are that you can build up a good collection of glass bottles. These can be used for bottling your homebrew beer which is a great way to save on bottles. We got a few tips for reusing those bottles. However, there are a few tips we wanted to provide you with when looking to reusable commercial glass beer bottles. The first thing is that if the bottles are twist off you cannot use them. You will not be able to re-cap them properly. This will cause you to lose C02 during carbonation and your beer will be flat. So don’t use twist-off glass bottles. The second would be to just be aware of the thickness of the bottles. This is easy to judge just by weight. The heaver the glass bottle the thinker the glass is. The thicker the glass the more durable the bottles will be. So if you are using glass bottles that are not as thin they may become less durable over time. This could result in under carbonated beer or you may have some bottles explode. Now I have only seen this happen a few times and it only happens in reused commercial beer bottles. So just be aware of what bottles you are using and how old they are. If you feel like a bottle might explode then chill it in the fridge to stop that yeast from making C02. Lastly if you are reusing some swing top bottles keep in mind to replace the gaskets after they are used a few times. This will help keep the seal tight and assure you are not losing any C02 during carbonation. Cheers, Robert
Read moreThe Brew Times
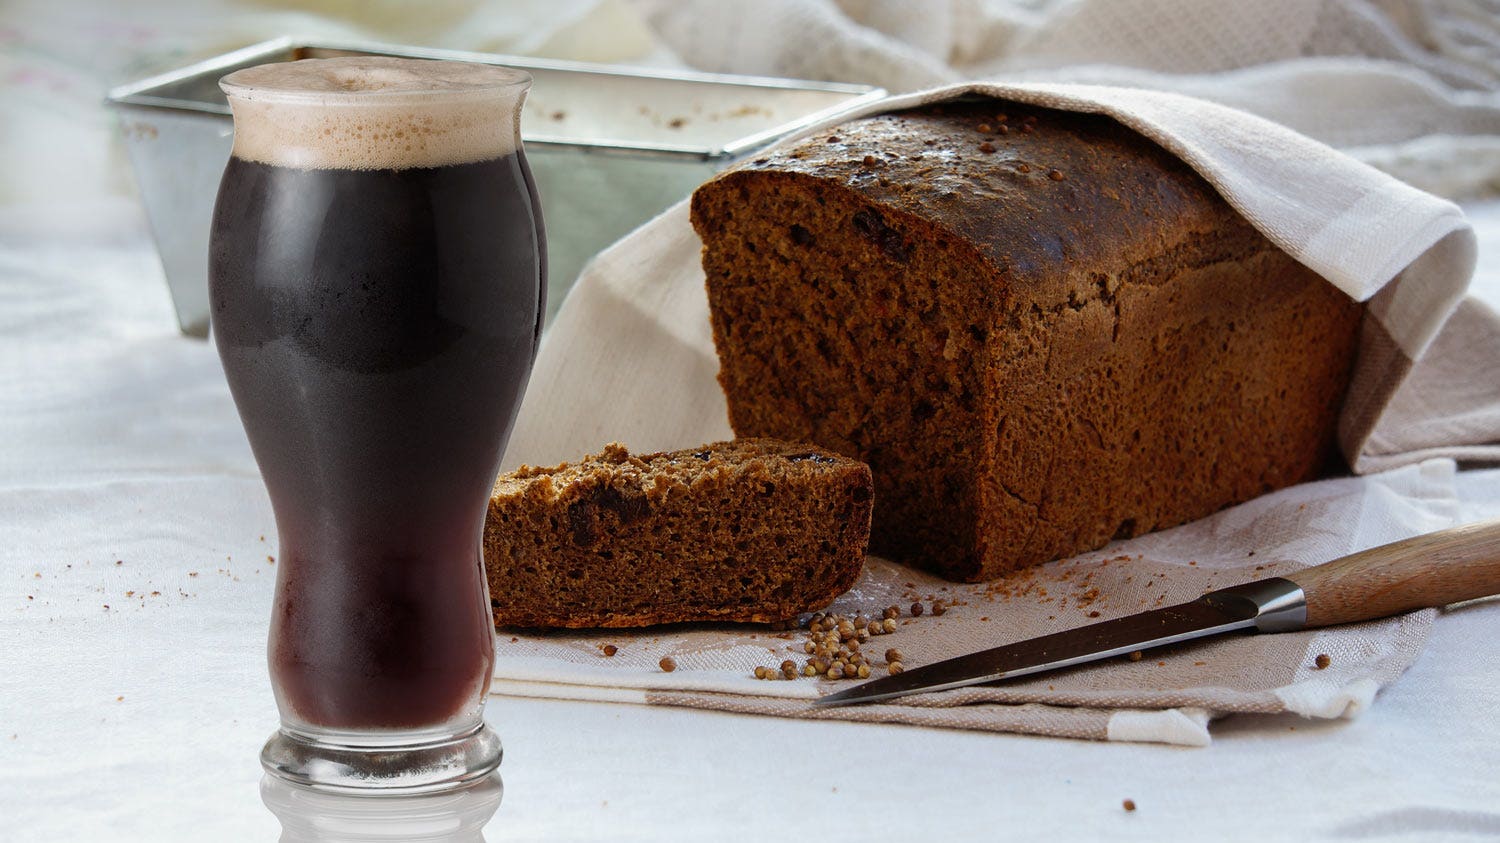
Maple Stout Bread
It is still technically summer for most of the world… But that does not mean can’t start thinking about, and enjoying some of those fall flavors a little early, right? I wait eagerly, every year for the chance to start incorporating all those warm and comforting flavors into both my brewing and my baking! In honor of the cooler months to come, I bring you the best of both “fall” treats and BEER! So let's put on those aprons and make this DELICIOUS “Maple Stout”, bread! What you will need to make it: 1 and ¾ cups of All Purpose Flour (preferably sifted) 1 teaspoon baking soda ½ teaspoon baking powder ½ teaspoon salt 6 tablespoons of softened butter ¾ cup packed dark brown sugar 2 large eggs ½ teaspoon vanilla extract ½ cup St. Patrick’s Irish stout beer (or any Stout you love, will do!) ½ cup fat-free sour cream 5 tablespoons maple syrup, divided Nonstick cooking spray, such as pam. 5 tablespoons powdered sugar 9x5 inch loaf pan coated with Pam How To Make It: Preheat your oven to 350 degrees, you want it to be nice and hot! Combine sifted flour, baking soda, baking powder, and salt, stirring well with a whisk. Set aside. Add butter and brown sugar in a large mixing bowl; beat with a mixer at high speed until well blended. Add eggs to the butter and sugar, 1 at a time, beating well after each addition. Beat in vanilla. Combine beer, sour cream, and 1/4 cup syrup (that would be 4 of your 5 tablespoons), stirring well with a whisk in another separate bowl. Beating at low speed, add flour mixture and beer mixture in alternating order, into the butter mixture in the large bowl, beginning and ending with flour mixture; beat just until combined. (this step is sometimes easier if you have someone to dump for you while you mix) Dump your batter into the greased loaf pan and bake at 350F and bake for 43 minutes or until a toothpick, poked into the center, comes out mostly clean or with some crumbs sticking to it, but not “wet” with batter. Allow pan to cool for about 10 minutes, before turning the loaf out onto a wire cooling rack, to cool completely. Once your loaf has cooled, add the last tablespoon of maple syrup to the powdered sugar in a small bowl and mix it until it becomes a smooth glaze. Drizzle this glaze over the loaf and slice it into generous portions and enjoy it with a cup of coffee, tea, or a pint of Stout! You know you want to! The biggest issue you can expect to have with this recipe is possibly a “tightening” of the waistband of your trousers, but who’s judging?! We’re just “layering” for those colder months to come! Life is short, eat the cake and drink the beer! If you make this recipe or have any questions, let us know in the comments section or contact us at customer service! Cheers, and enjoy! Ashley
Read moreHow to make hard root beer with your Mr. Beer Kit?
{{widget type="Solvature\VideoSlider\Block\Widget\VideoSliderWidget" video_embed1="ynmNbVBQHUY" video_title1="How to make hard root beer with your Mr. Beer Kit?" video_cta_color1="white" video_cta_color2="white" video_cta_color3="white" video_cta_color4="white" video_cta_color5="white"}} Looking to make some good old fashion root beer with a bit of alcohol in it? Well, we break down how in this episode of BrewTalk with Mr. Beer. A while back we used to have a kit to make hard root beer. While the kit was discontinued you can still brew up a batch of hard root beer pretty easily. You will need a few things to get started, a standard refill, US-05 Ale Yeast, a root beer refill, and our Root Beer caps and gasket strip. You also need to have a fermenter that you are not afraid to toss and some plastic bottles you are not afraid to toss or set aside for hard root beer only. The main reason for that is the root beer flavoring can leach that flavor into the plastic and then that flavor will be in all your future brews. So you either need to set aside a fermenter and bottles to use for hard root beer or just toss them if you don’t like it. Now the brewing part is very easy. You will brew up your standard refill as the normal brewing instructions. When we had the kit we did the classic American light refill, but you can always try different refills to see how it tastes. So once your beer is done fermenting, you need to sanitize a second fermenter. Then in the second fermenter, you will add 2-3 cups of white or brown sugar depending on how sweet you want it to be. Then you will transfer your beer to the second fermenter. You will want to use a sanitized tube for this, just find one that fits around the outside of the fermenter. You want to minimize aeration as much as possible during this step. Once your beer is transferred into the second fermenter you will add the 2 packets of root beer mix. Then you will mix slowly with a sanitized spoon until the sugar is dissolved. From there you will bottle like you normally do, except instead of using regular gaps you will use our Root Beer caps and gaskets. We use special caps with holes in them and a gasket to prevent the bottling from exploding when the root beer is carbonated. That’s it, you let it sit for 2 weeks to carbonation and condition, and then it's ready to drink. If you have any questions about how this works just shoot our customer service team an email and they would be glad to help. Cheers, Robert
Read more
How to prepare fresh fruit to add to your beer during fermentation?
Beer is good, fruit is good… Beer with fruit in it is even better! Like myself, many homebrewers enjoy incorporating fruit flavors in one form or another, into their beer, especially during the hot summer months. Every spring and summer season, we get lots of questions about how to safely add fresh fruit to a brew, during fermentation but after high Krausen has passed, without introducing unwanted infection. Sure, you can always use store-bought or pre-pasteurized purees, but if you have access to fresh, local, fruit, you would surely be crazy not to use them in your beer! Luckily, preparing fresh fruit to add in post-boil, is pretty easy! Chances are, you have heard us discuss the “vodka tincture” method for things like citrus zest, but what about larger quantities of fleshy, “bulky” fruits like peaches or strawberries? Well, that is what we will discuss today! Allow me to paint you a picture, it is a beautiful weekend day and you just picked yourself several pounds of juicy, fresh peaches with every intention of adding them to your beer. Now you are wondering, “How do I handle these peaches so that they don’t spoil my beer?” There are a couple of ways to get the job done, so here goes! Method #1 Heat pasteurization: This is a great low-heat pasteurization method that you can do in a double boiler. First, wash pit and puree your fruit. In a double boiler, hold the mashed fruit at around 150-170°F for about 15 minutes, while stirring the fruit occasionally with a sanitized spoon so that you maintain the heat consistently throughout the mixture. This method should rid the fruit of most unwanted bacteria. Let this cool a bit before adding it into your fermenter. In my opinion, this is the most “reliable” method, but be careful not to “overdo” it, as your goal is not to “cook” the fruit, but only to sanitize it. If you overcook fresh fruit, you can lose some of the wonderful flavors, that make using fresh fruit so desirable. Overcooked fruit also expresses more fruit pectin’s which can contribute to something called “chill haze”. Method #2 Freezing: In my opinion, this method is slightly less ideal, as it is not quite as reliable, and it requires a bit more “work” and patience. The advantage to using this method over the low heat method is that some feel it maintains even more of the fresh fruit flavors than the low heat method. I, personally, find the difference to be negligible in most cases. If you wish to use this method, start by prepping the fruit the same as you would if you were using the heat method. I like to add an ounce or two, of very high-proof alcohol to the fruit in the blender. This helps to add a little extra sanitation power without causing dilution of the flavor. Once blended, you will need a sealable container or back that can tolerate being frozen and thawed, several times over. Transfer the pureed fruit to your container and place it in the freezer until frozen solid. After it is completely frozen, remove the container and allow it to thaw, then place it back in the freezer and repeat this process at least 4 times. This method is said to damage the cell walls of bacterial organisms, rendering them weak and unable to reproduce. Once you have completed this freezing and thawing process, the fruit can be added to the brew during fermentation. So, there you have it folks, 2 ways to “pasteurize” your fresh fruit additions! I hope you enjoyed this, and maybe even learned a little something, too! If you have any questions, do not hesitate to contact us at customer service, or leave your question in the comments and we will be sure to answer it! Cheers, Ashley
Read moreWhy you need to hold the proper temperature during your grain steep?
{{widget type="Solvature\VideoSlider\Block\Widget\VideoSliderWidget" video_embed1="3FtqGc7ezxk" video_title1="Why you need to hold the proper temperature during your grain steep?" video_cta_color1="white" video_cta_color2="white" video_cta_color3="white" video_cta_color4="white" video_cta_color5="white"}} If you are looking to step up your brewing and get into our partial mash recipes then you will notice that they have the addition of grains. It is critical that you steep your grains for the proper temperature. These grains are great for adding more complex flavors to your brew and they help you transform a basic HME into totally different recipes. The most important thing when it comes to stewing grains is maintaining a consistent temperature. The ideal temperature for steeping grains is between 155 and 165 degrees. We usually recommend you hold your temperature right at 160. The main reason you want to be in that temperature range is because of off-flavors that you can get in your beer. If your steeping temperature is too high then that will create tannins in your beer. Tannins can lead to an astringent or bitter flavor in your beer. They can also lead to a haze in your beer that won’t clear up. These are off-flavors that you cannot condition out so you want to make sure you are holding the right temperature when steeping grains. So before you go brewing partial mash recipes make sure you have 2 things. One is a bigger pot for longer boils. If you have your 30-minute grains steep plus a hop boil, then you will need more water. The second is a thermometer. This is critical to maintaining the right temperature to get off-flavors in your beer. So to sum it up, the reason you need to maintain your steep to between 155-165 is to prevent tannins from releasing in your beer. Cheers, Robert
Read moreWhat to do if you have under-carbonated beer?
{{widget type="Solvature\VideoSlider\Block\Widget\VideoSliderWidget" video_embed1="j6kHh_s6CNk" video_title1="What to do if you have under-carbonated beer?" video_cta_color1="white" video_cta_color2="white" video_cta_color3="white" video_cta_color4="white" video_cta_color5="white"}} It can be a very frustrating thing, but when you do all that waiting then you go to pour a beer, and it's flat or under-carbonated it is very depressing. So we break down a few things that could be causing that under-carbonated beer in this week's episode of BrewTalk with Mr. Beer. So we thought it would be useful to talk about a few of the things that can impact the carbonation of the beer. The first is temperature. If your bottles are sitting below 70 degrees, then they may take a little longer to carbonate. So you can either warm them up or let them sit for at least another week longer. The second might be that you let your beer fermenter for far too long and you don’t enough active yeast cells to create C02. In that case, you can add more yeast to your beer for carbonation. We did a video on that a while back. Another reason might be that your bottles are just old. If you have used your bottles for a long time the seals around the caps may be starting to wear down so Co2 is escaping during carbonation. There is not much you can do once the beer is bottled, but you should purchase new bottles before you bottle your next batch. To sum up why you have under carbonated beer is that your temperature is too cold, not enough active yeast cells in the bottles or your bottles are old. Cheers, Robert
Read more
Beer Marinated Steak Tacos
It is that time of year again… Grilling season! But if you are like me, and you occasionally get a little tired of the usual “burger fare”, then this TACO recipe is for you! Now, if that was not enough on its own, these tacos are really special, because the steak in this recipe takes a long, luxurious, soak in our Aztec Mexican Cerveza! Marinating “tougher” cuts of meat in beer works beautifully to soften the tissues of the beef and turn those cuts into vehicles for flavor! So, grab some steak, sacrifice one of your bottles of Aztec, and thank me later, because this recipe is WORTH IT! What you will need: 1 LB Skirt steak, trimmed into 6-inch pieces. 1-1/2 cups of Mr. Beer Aztec Mexican Cerveza. 4 tablespoons of lime juice, divided. 1 teaspoon Kosher salt, plus extra as desired. ¼ Teaspoon black pepper. Plus, extra as desired. 2 cloves of garlic, thinly minced. 1 tablespoon olive oil. 2 Large tomatoes, cores removed. ½ a 7 ounce can of chipotle chilies in adobo sauce, chopped. 3 Tablespoons chopped cilantro, plus extra for serving if you like it. 8 corn tortillas. Various taco toppings, whatever you like. Some classics include avocado slices, crumbled Cotija cheese, and lime wedges. How to make it: In a resealable container or freezer bag, add the beef, Aztec beer, 1 tablespoon of lime juice, 1 teaspoon of salt, and ¼ teaspoon of black pepper. Seal it up and give it a good shake, then place in the refrigerator for a minimum of 3 hours, or overnight to marinate. After marination is complete, bring a grill to high heat, grill the tomatoes, turning them occasionally until they become well charred but are not totally falling apart… This can take anywhere from 5-8 minutes, in most cases. Remove the tomatoes from the grill and set them aside. Reduce the grill to medium-high heat. Remove the steak from the marinade and pat it dry with a paper towel. Season the steak with salt and pepper and grill the steak until it is charred, which usually takes about 2-3 minutes per side. Once cooked, remove the steak and set it aside to rest for about 10 minutes. While your steak rests, add to a blender, your onion, garlic, charred tomatoes, chipotle, and the last 3 tablespoons of lime juice: blend until smooth. Add in the chopped cilantro as well as salt and pepper to taste, then pulse the blender until combined. Put that tasty salsa you just whipped up, in a bowl for serving! Lastly, grill those tortillas to get a little char on them, for about 30 seconds per side. Slice the steak into ½ inch strips. Add steak to tortillas, top with salsa, cilantro avocado, and cheese, if you like it that way! Serve those tasty tacos with a wedge of lime. There you have it! AZTEC TACOS! As always, let me know in the comments if you make this recipe! I hope you enjoy it and feel free to ask any questions! Cheers! Ashley
Read moreAfter you cold crash your beer do you need to bring it back to room temperature to bottle?
{{widget type="Solvature\VideoSlider\Block\Widget\VideoSliderWidget" video_embed1="9TheMTccaRs" video_title1="After you cold crash your beer do you need to bring it back to room temperature to bottle?" video_cta_color1="white" video_cta_color2="white" video_cta_color3="white" video_cta_color4="white" video_cta_color5="white"}} Cold crashing can do some great things for your beer. It clears it up and helps prevents excess trub from getting in your bottles. But can you bottle right after or do you need to let it warm up? This was a very good question that was asked by someone in our Facebook group. After cold crashing can you just bottle your beer or do you need to let it warm back up? So I thought it would be a good topic to cover today. So a quick recap on cold crashing. Cold crashing is when you put your fermenter in the fridge or cool the temp down for 24-48 hours before bottling. What this does is helps all the floaties settle to the bottom and will solidify that trub layer so you get less in your beer when you bottle. It’s a great way to clear up your brew. Now the question comes into play because using an ale yeast the beer needs to carbonate between 70-78 degrees. At those cold temperatures, the ale yeast is dormant. So to answer that question, you do not need to warm up your fermenter before bottling. For one, that will defeat the purpose of the cold crash. Once you bottle your beer it will start to warm up. Once it gets in the right temperature range those yeast cells will wake up and start to eat the sugar from bottling and crate C02. So to recap you do not need to warm your beer before bottling after you cold crash. Just go ahead and bottle. Cheers, Robert
Read more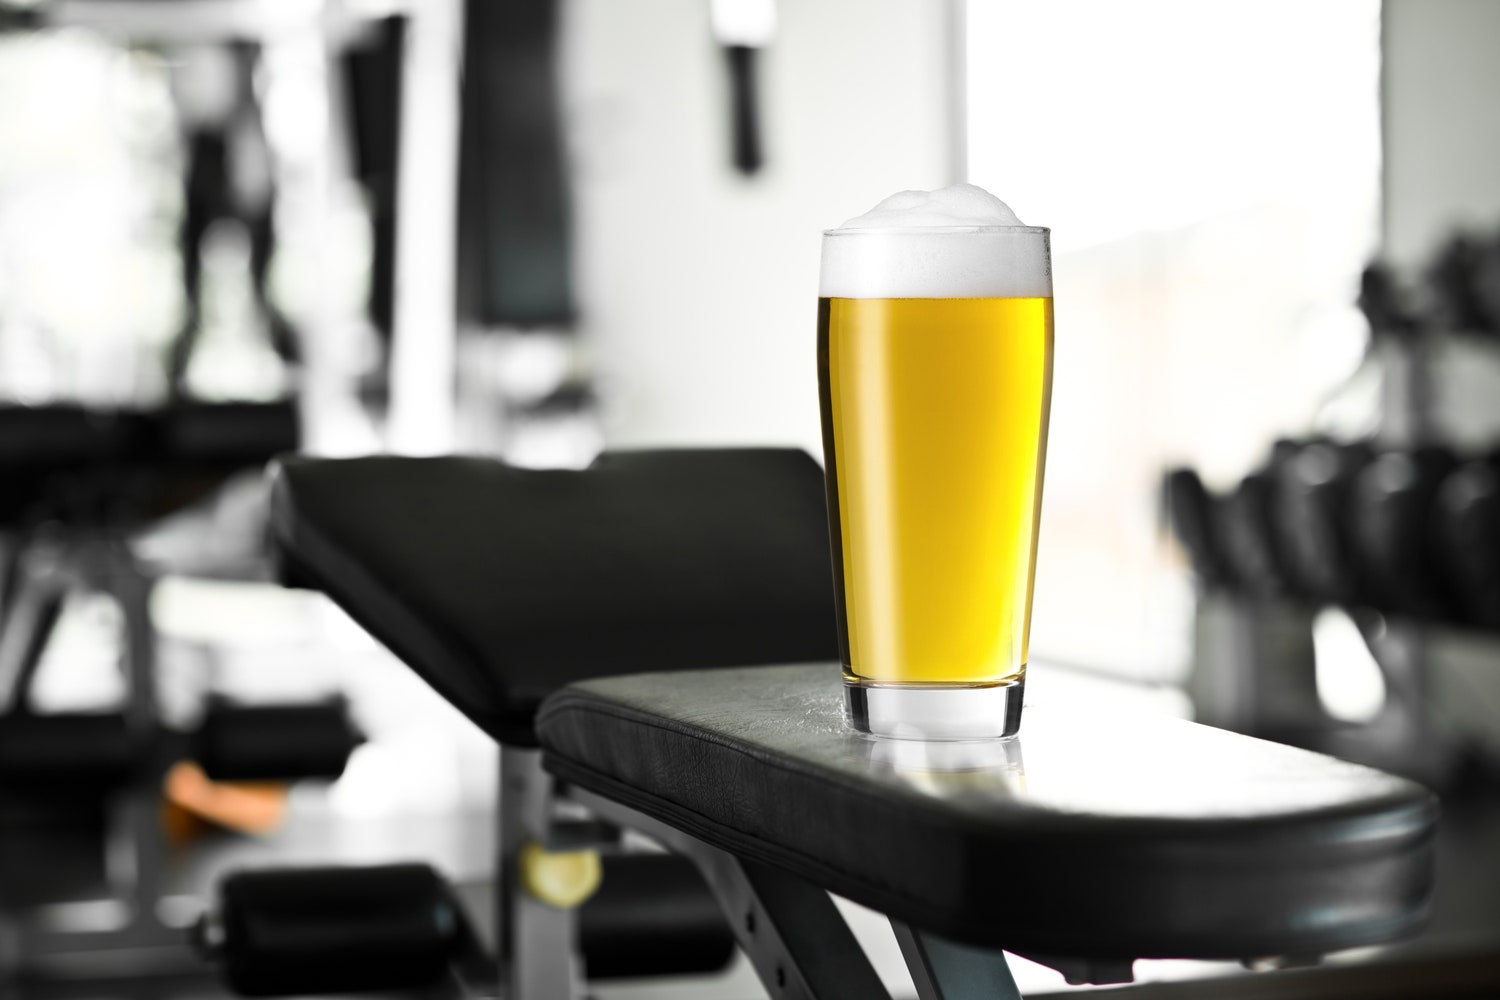
How Beer Can Help You With Exercising?
Beer and exercise probably do not sound like a “perfect” match to most, at first… But you might be quite surprised to learn that science is starting to show us that we might have been wrong in thinking that beer and “getting shredded”, did not belong in the same conversation. That’s what we will discuss in the blog, today! Now, I have said it before, but I have to say it again; I am not a medical professional, and this is not meant to provide any medical advice. What I will do, is share information with you published by medical and scientific professionals so you don’t have to hunt for it yourself! Germany loves beer, but what you may not have known is that for a very long time, many German endurance athletes have “sworn” by its merit as a “post-training” beverage. It’s not just Germany either, this philosophy is catching a lot of attention across the world, due to new research. For that reason, athletes foreign and domestic alike, are feeling a lot less guilty about that after workout beer. You are probably wondering what the science says about that, now, right? Well let’s take a look, shall we? Beer and Muscle Soreness: Physical training and sore muscles tend to go together like ham and cheese, but a 2014 study in the International Journal of Kinesiology and Sport Science found that the athletes they observed reported a reduction in “perceived muscle soreness” after drinking beer versus a placebo. I don’t know about you, but I am already, SOLD! Who “likes” being sore? Beer and Kidney Health: It likely comes as no surprise that intense exercise can cause dehydration, and dehydration can cause kidney stones in some instances. Well, if you like exercise AND beer but you DO NOT like kidney stones, a 2013 study published in the Clinical Journal of the American Society of Nephrology found that “regular, moderate” beer consumption, reduced a person’s risk of developing kidney stones by a whopping 41%, and yes, you read that correctly! Beer as an Anti-Inflammatory: Okay, this one is a little less about the beer itself and a little more about the hops, IN the beer! Yup, a 2009 study in Molecular Nutrition and Food Research found that hops could reduce acute inflammation in study participants. And a 2006 study in Planta Medica found that hops could work similarly to traditional over-the-counter COX-2 inhibitors, a type of non-steroidal anti-inflammatory drug. In simpler terms, the active ingredients in hops might be as effective in reducing certain types of exercise-related inflammation as something like Ibuprofen or aspirin. Beer Consumption and Gut Health: If you have ever beat your own backside at the gym, you know a little “tummy rumble from down under” can really throw your plans off… Oh come on, you can pretend you don’t know what I am talking about, but one brush with the “runners trots”, and you will not soon forget! But do not worry, I have really good news about that, too! Moderate alcohol consumption shows promise in combatting the bacteria often responsible for stomach ulcers, Helicobacter pylori, as reported in a study from The American Journal of Gastroenterology. Beer is also a good source of arabinoxylan-oligosaccharides, the prebiotic food that your good gut bacteria feast on which serves to regulate your gastric “comfort”. Who does not like fewer “belly aches”? Beer And Bone Health: A surprisingly little-known benefit of consuming beer is its silicon content! That is right! Beer contains a vital mineral that your bones NEED, a lot. A paper published in the journal Food and Science in Agriculture concluded that drinking about three bottles of any beer would satisfy your daily requirement for silicon! What?! “Bartender! I’ll take 3, for my bone health!” Beer And Your Heart Health: I have talked about this before, and the American heart association has stated that a single beer a day, could raise your “good” cholesterol while reducing your risks for clots and reducing heart attack risks… What athlete does not require a healthy heart? That, being said, the AHA strongly drives home the fact that MODERATION is key! If all that did not make you want to add beer to your “workout” routine, I don’t know what will! Once again, this is not medical advice, so PLEASE speak to your doctor before adding or changing your lifestyle. I hope you enjoyed this, and maybe even learned something you didn’t know! If you would like to check out my sources for yourself, check out the links provided below! Cheers! Ashley Beer and muscle soreness: http://www.journals.aiac.org.au/index.php/IJKSS/article/view/591/560 Beer and hydration: https://jissn.biomedcentral.com/track/pdf/10.1186/s12970-015-0088-5.pdf https://europepmc.org/article/med/25588064 Beer and post workout inflammation: https://pubmed.ncbi.nlm.nih.gov/19655312/ https://www.researchgate.net/publication/7243285_Selective_Inhibition_of_COX-2_by_a_Standardized_CO_2_Extract_of_Humulus_lupulus_in_vitro_and_its_Activity_in_a_Mouse_Model_of_Zymosan-Induced_Arthritis#page=75 Beer and Bone Health: https://www.ncbi.nlm.nih.gov/pmc/articles/PMC2658806/ https://onlinelibrary.wiley.com/doi/full/10.1002/jsfa.3884 Beer and Gut Health: https://journals.lww.com/ajg/pages/default.aspx https://pubmed.ncbi.nlm.nih.gov/21328111/ Beer and Heart Health: https://www.heart.org/en/healthy-living/healthy-eating/eat-smart/nutrition-basics/alcohol-and-heart-health
Read moreDo you need to strain your homebrew if you dry hop or add fruit without a hop sack?
{{widget type="Solvature\VideoSlider\Block\Widget\VideoSliderWidget" video_embed1="Ja62eoqnUt8" video_title1="Do you need to strain your homebrew if you dry hop or add fruit without a hop sack?" video_cta_color1="white" video_cta_color2="white" video_cta_color3="white" video_cta_color4="white" video_cta_color5="white"}} This is a very common question for new brewers who are entering the stage of brewing recipes. You are starting to add hops, and fruits, and all kinds of other cool stuff to your brew. One question that we see quite often is about straining your beer and if you should do it or not. In our opinion with homebrewing, you should not strain your beer. We really don’t see a benefit to doing that and it seems to only have a negative impact on your beer unless it is done correctly. I would say that the overwhelming majority of brewers do not strain their beer. I could be wrong on that, but I do think that is a good assumption. There are 2 main reasons you do not want to strain your beer. The first being that it opens up another chance for your beer to get infected. Whether you are running it through a cheesecloth or an actual straining system if something is not sanitized properly then you will get an infection in your beer. So by not straining reduces the risk for infection. The second main reason is that it can oxidize your beer. Exposure to oxygen is not good for beer. It can lead to off-flavors in your beer, like a cardboard taste, and those are hard to condition out. So when you filtering or straining your beer it is naturally going to knock it around a little bit which can expose it to excess oxygen. Which can lead to an off-flavor. So by not straining your beer, it can reduce the risk for an oxidized beer with off-flavors. The best way to still clear your beer and reduce folates or sediment in your beer is to cold crash. Put your fermenter in the fridge for 24-48 hours before bottling. This will help all the sediment, hops fruit, or whatever else is in your beer settle to the bottom. You can also prop up the front of your fermenter which will help most of that sediment settle to the back of your fermenter. So to wrap it up, do not strain your beer, it does not help. Cheers, Robert
Read moreWhen sampling your beer should you always toss your first pour?
{{widget type="Solvature\VideoSlider\Block\Widget\VideoSliderWidget" video_embed1="5be9l_-J5ZY" video_title1="When sampling your beer should you always toss your first pour?" video_cta_color1="white" video_cta_color2="white" video_cta_color3="white" video_cta_color4="white" video_cta_color5="white"}} Today we are going to talk about sampling your beer. This is probably one of the most exciting parts about brewing, the first initial taste of your actual beer! In order to get a good first taste, you need to do one crucial thing. Now there is a little trick when it comes to sampling to make sure you are getting a good sample of your beer. During the brewing process, sediment will develop at the bottom of your fermenter. That is called Trub and that is the bi-production of the fermentation process. It’s a good way to know that your beer is fermenting. For the most part, that sediment will settle below your spigot, but when you do your first sample pour you can get a few pieces in your glass. Now it does not hurt you but it does not taste all that great and does not give you a good representation of what your beer will taste like. So when you are pouring your sample you will want to toss that first pour. That will clear the spigot area of any sediment that is sitting in there and then you can take your sample again and it will be much clear and just the beer. Hope that helps! Cheers, Robert
Read more
Bewitched Caramels
Looking for a sweet treat to whip up for those summer celebrations? Wouldn’t it be even better if that treat contained some of YOUR delicious homebrew? Say no more, because today I bring you my recipe for; “Bewitched Caramels”! These delicious little morsels don’t require a lot of effort, but they yield a hefty number of servings and if you opt to wrap them individually (which I highly suggest) they provide the perfect portable and giftable way for people of all ages to enjoy a little bit of your beer, without any of the buzz! I personally love them as an afternoon pick-me-up with a nice coffee (stout) as my beverage. What You Need: 4 cups of Bewitched Amber Ale (Oktoberfest would also work) 1 teaspoon plus 1 cup of butter, divided. 3 cups of sugar 2/3 cup of light corn syrup (not the dark one) 2 cups of heavy whipping cream, divided. 1/3 cup water 1 teaspoon salt About ½ teaspoon kosher salt Candy thermometer (helpful) A clean pastry/basting brush (also, helpful) How to make them: In a large saucepan, bring beer to a boil; cook until reduced to 2/3 cup. Set aside to cool. Meanwhile, line a 9-in. square pan with foil; grease the foil with 1 teaspoon butter and set aside. In a Dutch oven or large, deep-pan, combine the sugar, corn syrup, 2/3 cup cream, water, salt and remaining butter. Cook and stir over medium heat until a candy thermometer reads 238°, about 20 minutes. In a small bowl, combine reduced beer and remaining cream; slowly stir into sugar mixture. Using a pastry brush dipped in cold water, wash down the sides of the pan to eliminate sugar crystals. (This part is important so you do not end up with gritty caramel) Cook, stirring constantly until a candy thermometer reads 245° (firm-ball stage), about 30 minutes. Remove from the heat. Pour into prepared pan (do not scrape saucepan), sprinkle with kosher salt. Let stand until firm, about 5 hours or overnight. Using foil, lift candy out of the pan. Discard foil; cut candy into 1-in. squares using a buttered knife. I like to wrap them individually in wax paper so that they can be easily and hygienically shared…. If sharing is your “thing”, that is. I hope you enjoy this recipe, and if you make it, let us know! Until next time, Cheers!
Read moreAfter you pitch your yeast should you stir or not stir your wort?
{{widget type="Solvature\VideoSlider\Block\Widget\VideoSliderWidget" video_embed1="WptRg1PIVCE" video_title1="After you pitch your yeast should you stir or not stir your wort?" video_cta_color1="white" video_cta_color2="white" video_cta_color3="white" video_cta_color4="white" video_cta_color5="white"}} Today we are going to answer the age-old question, should stir your wort after you pitch your yeast or not? This idea is an older brewing idea. It used to be part of our instructions about 10 years ago. We would have you pitch your yeast then aerate your wort. The idea behind this was that it would mix your yeast up in your wort and help it do a better job during fermentation. However, it actually does not really do anything. Mixing your wort after you pitch your yeast can actually make things worse. It can kick up yeast on the side of your fermenter that you need for fermentation. It adds more of a risk element for infection in your beer and it can make your yeast a little unhappy. So, the best thing to do is to thoroughly aerate your wort then pitch your yeast. Do not stir your wort after you pitch your yeast. Cheers, Robert
Read more