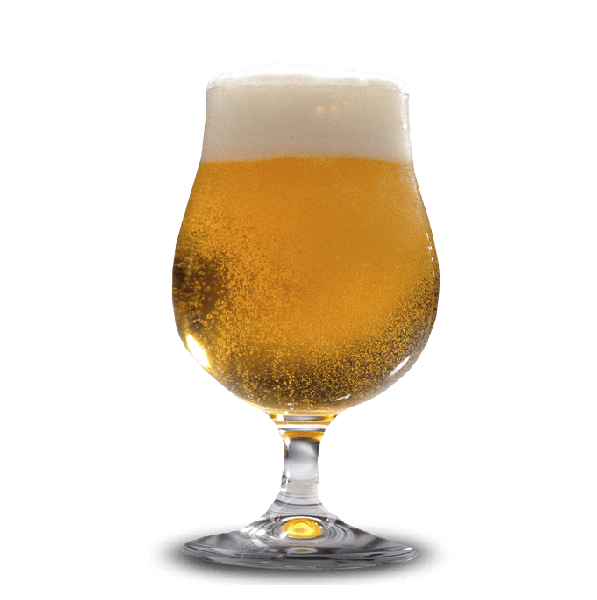
Boysenberry Cider - ARCHIVED
The flavors of boysenberry are so complex. All at once tart, yet sweet, we've kicked up the mix with apple and brown sugar to arrive at an exquisitely tart cider that strikes all the right notes. This is just right for enjoying those balmy Indian summer evenings spent out on the porch in a rocking chair.
Click here for printable instructions.
The flavors of boysenberry are so complex. All at once tart, yet sweet, we've kicked up the mix with apple and brown sugar to arrive at an exquisitely tart cider that strikes all the right notes. This is just right for enjoying those balmy Indian summer evenings spent out on the porch in a rocking chair.
RECIPE INCLUDES:
- 1 Hard Apple Cider Refill
- 1 Packet Yeast (Included in Cider Refill)
- 1 Can Boysenberries in Light Syrup
YOU PROVIDE:
- 2 Cup Brown Sugar, packed
Additional Information
- 100% GLUTEN FREE!
- OG: 1.048 (approx.) -- FG:1.001(approx.)
- Suggested conditioning time is 2 to 4 months.
- Flavor: Hard Cider
- ABV (alc/vol): 6.3%
- SRM (Color): 3
- IBU (Bitterness): None
- BJCP Style: C2. Specialty Cider and Perry - C2B. Cider with Other Fruit
Fermentation |
Carbonation |
Bottle |
Total Brewing Time |
|
| 3 Weeks | 3 Weeks | 2 - 4 Months | = | 3 - 6 Months |
Click here for printable instructions.
Boysenberry Cider Instructions
RECIPE INCLUDES:
- 1 Hard Apple Cider Refill
- 1 Packet Yeast (Included in Cider Refill)
- 1 Can Boysenberries in Light Syrup
YOU PROVIDE:
- 2 Cup Brown Sugar, packed
Additional Information
- 100% GLUTEN FREE!
- OG: 1.048 (approx.) -- FG:1.001(approx.)
- Suggested conditioning time is 2 to 4 months.
- Flavor: Hard Cider
- ABV (alc/vol): 6.3%
- SRM (Color): 3
- IBU (Bitterness): None
- BJCP Style: C2. Specialty Cider and Perry - C2B. Cider with Other Fruit
Fermentation |
Carbonation |
Bottle |
Total Brewing Time |
|
| 3 Weeks | 3 Weeks | 2 - 4 Months | = | 3 - 6 Months |
STEP 1: SANITIZING
Follow the steps outlined in your Mr. Beer Kit Instructions. (You can find a copy of these instructions to download by visiting our help desk.)
NOTE: BE SURE TO SANITIZE EVERYTHING THAT WILL COME INTO CONTACT WITH YOUR CIDER.
STEP 2: BREWING
Brewing cider is the process of combining a source of sugars with yeast. Once combined, the yeast eats the sugars, producing alcohol and carbon dioxide (CO2). This process is called fermentation.
- In your sanitized blender, purée the fruit with the syrup, and set aside to add later.
- Using the sanitized measuring cup, pour 4 cups of water into your clean 3-quart or larger pot. Add in the brown sugar. Bring water to a boil stirring constantly, then remove from heat.
- Open both bottles of cider concentrate, pour the contents into the hot mixture. Stir until thoroughly mixed. This mixture of unfermented cider is called must.
- Fill keg with cold tap water to the 4-quart mark on the back.
- Pour the must into the keg, and then bring the volume of the keg to the 8.5-quart mark by adding more cold water. Add in the puréed fruit. Stir vigorously with the spoon or whisk.
- Sprinkle the yeast into keg, then screw on lid. Do not stir.
- Put your keg in a location with a consistent temperature between 59°and 75° F and out of direct sunlight. Ferment for 7-14 days.
- After approximately 24 hours, you will be able to see the fermentation process happening by shining a flashlight into the keg. You'll see the yeast in action in the wort. The liquid will be opaque and milky, you will see bubbles rising in the liquid, and there will be bubbles on the surface.
Your fermentation will usually reach its peak in 2 to 5 days (this is also known as “high krausen”). You may see a layer of foam on top of the must, and sediment will accumulate at the bottom of the fermenter. This is totally normal. Complete fermentation will take approximately 2 weeks.
After high krausen the foam and activity will subside and your batch will appear to be dormant. Your cider is still fermenting. The yeast is still at work slowly finishing the fermentation process.
Step 3: BOTTLING AND CARBONATING
Follow the steps outlined in your Mr. Beer Kit Instructions. (You can find a copy of these instructions to download by visiting our help desk.)

