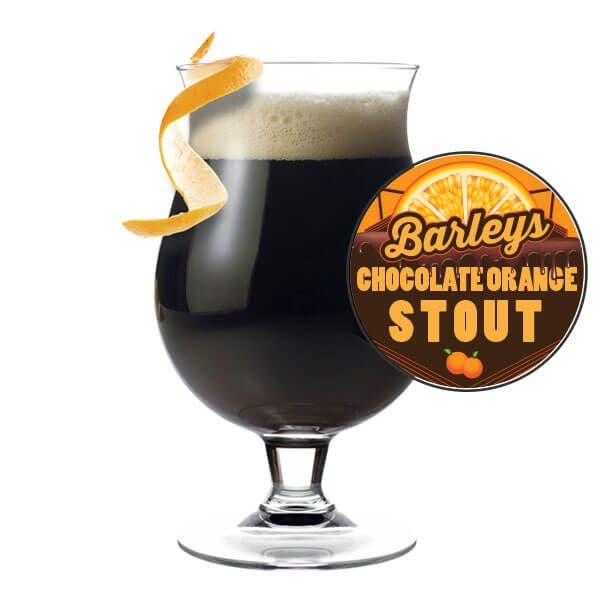
Barley's Chocolate Orange Stout

Barley's Chocolate Orange Stout is rated 4.2 out of 5 by 27.
  • y_2024, m_9, d_8, h_5
  • bvseo_bulk, prod_bvrr, vn_bulk_3.0.42
  • cp_1, bvpage1
  • co_hasreviews, tv_8, tr_19
  • loc_en_US, sid_90-15174-00, prod, sort_[SortEntry(order=RELEVANCE, direction=DESCENDING)]
  • clientName_mrbeer
  • bvseo_sdk, p_sdk, 3.2.1
  • CLOUD, getAggregateRating, 12.33ms
  • REVIEWS, PRODUCT

Dessert is the best meal of the day, especially when it involves chocolate. But why does dessert always have to be in food form? Not anymore! Barley’s September recipe combines two dessert favorites: chocolate and oranges.

$21.95
SKU
90-15174-00
Customize Barley's Chocolate Orange Stout

* Required Fields

Your Customization
Barley's Chocolate Orange Stout Glass
Barley's Chocolate Orange Stout

In stock

Subscription details
Wishlist

$21.95

Summary

    What You Get

    1 St. Patrick's Irish Stout Brewing Extract (HME)

    1 Packet of Dry Brewing Yeast (Under the Lid of the Brewing Extract)

    1 Packet of BrewMax DME Pale

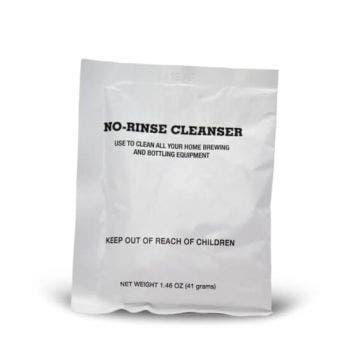
    1 Packet of No-Rinse Cleanser


    You Provide

    3 Medium Sized Oranges

    1 box (4 oz.) of Bakers Unsweetened Chocolate Squares OR ¼ cup of unsweetened cocoa powder (The chocolate squares contain natural oils, so they will give your beer more mouthfeel but a lower head retention. The cocoa powder will offer a better head retention, but less mouthfeel.)

    1/2 Cup Vodka


    For Fans Of

    Breckenridge Chocolate Orange Stout

    Southern Tier Brewing Choklat Oranj Stout


    Brew Specs

    Flavor: Malty

    Original Gravity: 1.050

    Final Gravity: 1.012

    ABV: 5%

    SRM: (Color): 29

    IBU: (Bitterness): 45


    STEP 1: SANITIZING

    Cleaning is one of the most important steps in brewing. It kills microscopic bacteria, wild yeast, and molds that may cause off-flavors in your beer. Make certain to clean all equipment that comes in contact with your beer by following the directions below:

    1. Fill clean keg with warm water to line mark 1 on the back, then add ½ pack (about 1 tablespoon) of No-Rinse Cleanser and stir until dissolved. Once dissolved, the solution is ready to use. Save the remaining ½ of No-Rinse Cleanser because you will need it for bottling.

    2. Screw on lid and swirl the keg so that the cleaning solution makes contact with the entire interior of the keg, including the underside of the lid. Note that the ventilation notches under the lid may leak solution. Allow to sit for at least 2 minutes and swirl again.

    3. To clean the spigot, open it fully and allow liquid to flow for 5 seconds and then close

    4. Pour the rest of the solution from the keg into a large bowl. Place your spoon/whisk, can opener and measuring cup into the bowl to keep them cleaned throughout the brewing process. Leave them immersed for at least 2 minutes in cleaning solution prior to using.

    5. After all surfaces have been thoroughly cleaned, do not rinse or dry the keg or utensils. Return lid to top of keg, proceed immediately to brewing.


    STEP 2: BREWING

    Brewing beer is the process of combining a starch source (in this case, a malt brewing extract) with yeast. Once combined, the yeast eats the sugars in the malt, producing alcohol and carbon dioxide (CO2). This process is called fermentation.

    1. Remove the yeast packet from under the lid of the can of Brewing Extract, then place the unopened can in hot tap
    water

    2. Using the measuring cup, pour 6 cups of water into your clean 4-quart or larger pot. Bring the water to a boil then
    remove from heat.

    3. Open the can of St. Patrick’s Irish Stout brewing extract and the BrewMax DME packet, and pour both of their
    contents into the hot water. Then add the box of Bakers Unsweetened Chocolate OR your cocoa powder to your pot.
    Stir until thoroughly mixed. It could take 4-5 minutes to completely dissolve the chocolate squares, but you want to
    keep stirring until everything is completely dissolved. This mixture is called wort.

    4. Fill your fermenter with cold tap water to the mark 1 on the back. If using any other fermenter this would be
    approximately 1 gallon of water. 

    5. Pour the wort into your fermenter, and then bring the volume of the fermenter to mark 2 by adding more cold
    water. (If you have a different fermenter top it off with cold water to the 8.5-liter mark). 

    6. Stir your wort mixture vigorously with your sanitized spoon or whisk.

    7. Sprinkle the yeast packet into the keg, and screw on the lid. Do not stir. 

    Put your fermenter in a location with a consistent temperature between 68° and 78° F (20°-25° C), and out of direct
    sunlight. Ferment for 14 days

    After you have placed your keg in a cool dry place, you need to prepare your orange. You want to peel all 3 oranges,
    making sure not to peel too deep. You don’t want any of the white “pith” that is underneath the skin, as this can leave
    an unwanted bitter flavor in your beer. Peel just deep enough to remove the orange skin.


    Next, place the orange peels into a sanitized jar (or another air tight container) and fill with a ½ cup of vodka. If you
    are using a different sized container, you want to add enough vodka to cover and sanitize your orange peels. Set jar
    aside with fermenter.


    STEP 3: Adding Extras

    Adding extras is the process of adding additional ingredients to a beer which will impart more flavor and aroma in
    your finished brew.

    1. At Day 7 of fermentation very carefully add the contents of the air tight container to your keg, including the vodka.
    Pour slowly as to not disturb your fermenting wort too much.


    STEP4: BOTTLING & CARBONATING

    After 14 days, taste a small sample to determine if the beer is fully fermented and ready to bottle. If it tastes like flat beer, it is ready. If it’s sweet, then it’s not ready. Let it ferment for 3 more days (17 total). At this point, it is time to bottle. Do not let it sit in the fermenter for longer than 24 days total.

    1. When your beer is ready to bottle, fill a 1-gallon container with warm water, then add the remaining ½ pack of the No-Rinse Cleanser and stir until dissolved. Once dissolved, it is ready to use

    2. Distribute the cleaning solution equally among the bottles. Screw-on caps (or cover with a metal cap if using glass bottles) and shake bottles vigorously. Allow to sit 10 minutes, then shake the bottles again. Remove caps and empty all cleaning solutions into a large bowl. Use this solution to clean any other equipment you may be using for bottling. Do not rinse.

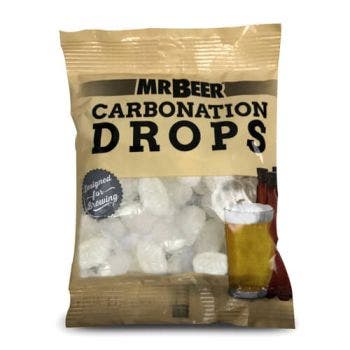
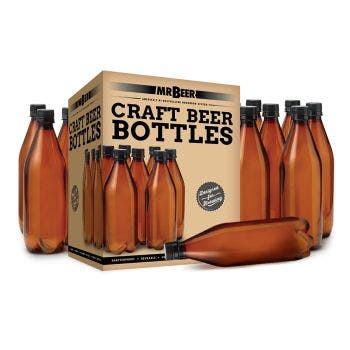
    3. Add 2 Carbonation Drops to each 740-mL bottle. For 1-liter bottles, add 2 ½ drops; for ½-liter bottles add 1 drop. Alternatively, you can add table sugar using this table as a guide. 

    4. Holding the bottle at an angle, fill each bottle to about 2 inches from the bottle’s top.

    5. Place caps on bottles, hand tighten, and gently turn the bottle over to check the bottle’s seal. It is not necessary to shake them.

    6. Store the bottles upright and out of direct sunlight in a location with a consistent temperature between 70°-76°F or 21°-24°C. Allow sitting for a minimum of 14 days. If the temperature is cooler than suggested it may take an additional week to reach full carbonation. 


    TIP FROM OUR BREWMASTERS

    After the primary carbonation has taken place your beer is ready to drink. We recommend putting 1 bottle in the refrigerator at first for 48 hrs. After 48hrs. give it a try and if it is up to your liking put the rest of your beer in the fridge. If it does not taste quite right, leave the bottles out at room temp for another week or so. Keep following this method until your brew tastes just how you like it. 

    This process is called conditioning and during this time the yeast left in your beer can help clean up any off-flavors. Almost everything gets a little better with time and so will your beer

    Rated 5 out of 5 by Irishcheesehead from Not too bitter, not too sweet. First of all, let me say from experience, do NOT try to drink this before at LEAST 3 weeks of conditioning because the orange will overwhelm you and combined with the slight bitterness that doesn't go well. However after proper conditioning time this brew has the perfect balance of bitterness at the finish with those extremely subtle chocolate and orange flavors that makes it super drinkable. I'm very disappointed I only made 2 gallons this time. I will also point out that it is definitely best enjoyed in a pint glass and given a moment to breath after it comes out of the bottle.
    Date published: 2016-01-23
    Rated 5 out of 5 by ActionDan OBX from Best brew in 2015! After opening the 1st bottle (followed directions for 3 weeks brew, 3 weeks in bottle, 1 week chill) found this to be fantastic! So much so started a second batch just before the holidays, just added the orange peel last nite, 2 more weeks in the keg before bottling. This was my 82nd Mr.Beer batch and the finest so far. Note: Be sure to store your bottles and keg in a tub or container, they can leak or worse explode and cause a huge mess! Looking forward to many more - Keep on brewing ya'll! Cheers, ActionDan OBX
    Date published: 2016-01-06
    Rated 5 out of 5 by jbelle from Excellent brew After many Mr. Beer recipes, this is the best. Followed directions as written and very good. The quality of the oranges (in season or not) will affect quality. Make sure you do not get the white part of the peel. The orange flavor is very subtle but the chocolate is there! Highly recommended.
    Date published: 2016-01-09
    Rated 5 out of 5 by bigmac from Great Brew Great beer, Very different with the chocolate orange notes, I am planning to brew this one again. One of my favs
    Date published: 2016-01-09
    Rated 3 out of 5 by Armandg4 from Not my favorite I just finished my last bottle, and as a whole I’d say it was average. I’m a dessert stout lover so naturally I was pretty excited for this. I followed the timeline perfectly and conditioned for a little over 4 weeks. There was a point where i let the temperature during fermentation drop slightly too low. Although it wasn’t for a long period, this may have had an affect on the final taste. I didn’t get much of the orange taste, but the chocolatey-orange aroma was definitely there. Took me about 2 weeks to drink them all. The taste got a little better with time, but not by much.
    Date published: 2018-01-11
    Rated 5 out of 5 by Dune from A happy mistake / mistakes :) Let me start with a disclaimer...I did not follow all of the instructions on this by any stretch of the imagination....That being said, this turned out great:) When I started the brewing on this I found out the chocolate I thought was in the cabinet was not there, so it was omitted. I did have a container of Lactose Milk Sugar I had bought for another batch, so I put it in this mix instead. The next variant was with the orange mix of vodka and orange peals. While at the store I bought orange flavored vodka to just kick it up a bit. The liquor store did not have a small bottle so I got a fifth and put it in a mason jar along with the peals to soak. The recipe calls for only a half cup of the vodka orange mix, my next oops was the smell of the mason jar was soooo good, I poured the entire jar in. The results....WOW! If you love orange tast and smell like I do than you can see why I ended up liking this so much. I'm not sure what the alcohol content is, but it is well above the norm for sure:) A friend said I should have named it 'Death by Oranges' :) Three weeks in the keg (orange mix added after one week) three in the bottles and a very short time in the glass:)
    Date published: 2016-05-23
    Rated 4 out of 5 by moots from Enjoyed making this recipe This is the latest recipe that I have done. It was my first time adding in orange peel (zest), as well as the first time adding in cocoa/chocolate. Brewing was easy, as it always is. Directions were clear, and concise. Cannot wait to try this one, but still have a few weeks before it will be ready to drink. The only thing that got me was that for some reason (and it is probably an error on my part, somewhere in my process), the abv came out almost 3/4 percent lower than it should have. but otherwise very good recipe.
    Date published: 2017-08-16
    Rated 5 out of 5 by Coupe Guy from Best Stout Ever This is my 3rd Mr. Beer brew, and my wife and I had our first taste on Christmas. She don't like stouts, but she liked this one. I think is great! The best stout I've ever had. Up front you get the taste of the orange, and later the chocolate comes in. This is a very smooth, great tasting brew. Thank you Mr. Beer!
    Date published: 2016-12-28
    • y_2024, m_9, d_8, h_5
    • bvseo_bulk, prod_bvrr, vn_bulk_3.0.42
    • cp_1, bvpage1
    • co_hasreviews, tv_8, tr_19
    • loc_en_US, sid_90-15174-00, prod, sort_[SortEntry(order=RELEVANCE, direction=DESCENDING)]
    • clientName_mrbeer
    • bvseo_sdk, p_sdk, 3.2.1
    • CLOUD, getReviews, 6.34ms
    • REVIEWS, PRODUCT

    If I were using a different brewing system, what’s the batch size I should make? 

    Asked by: Dark brew 2112
    That depends on the capacity of your brewing system, but this recipe is for a 2.25 gallon batch. Cheers!
    Answered by: MRBEER
    Date published: 2021-08-23

    its been 2 weeks beer isn't sweet but is cloudy is it ready to bottle, not sure what beer should be clarified meant in directions?

    Asked by: brewrandy
    It should be ready to bottle! As long as it isn't sweet or cidery, you are good to go.
    Answered by: SarahBeer
    Date published: 2016-01-11
    • y_2024, m_9, d_8, h_5CST
    • bvseo_bulk, prod_bvqa, vn_bulk_3.0.42
    • cp_1, bvpage1
    • co_hasquestionsanswers, tq_2
    • loc_en_US, sid_90-15174-00, prod, sort_[SortEntry(order=LAST_APPROVED_ANSWER_SUBMISSION_TIME, direction=DESCENDING)]
    • clientName_mrbeer
    • bvseo_sdk, p_sdk, 3.2.1
    • CLOUD, getContent, 9.31ms
    • QUESTIONS, PRODUCT
    We found other products you might like!